Kohler Command Pro CV940 Manual del usuario - Página 11
Navegue en línea o descargue pdf Manual del usuario para Motor Kohler Command Pro CV940. Kohler Command Pro CV940 21 páginas. Vertical
También para Kohler Command Pro CV940: Manual del usuario (8 páginas)

Inspect and clean the oil cooler every 150 hours of
operation (more frequently under severe conditions).
Oil cooler must be kept free of debris.
To access and service the oil cooler, remove the top
mounting screw and loosen the two side screws, then
lift off the No. 2 side cylinder shroud. If required
remove the two screws holding the oil cooler to the
blower housing. Pull the cooler away from the blower
housing. Clean both sides of the cooler with a brush as
shown in Figures 17 and 18, or with compressed air.
After cleaning, reattach the oil cooler to the lower
blower housing with the two mounting screws.
Oil Cooler
Figure 16. Oil Cooler.
Figure 17. Cleaning Top of Oil Cooler.
Figure 18. Cleaning Underside of Oil Cooler.
Air Cleaner
General
These engines use a heavy-duty style air cleaner
shown in Figure 19, consisting of a cylindrical housing
mounted to the carburetor and intake manifold. The
air cleaner housing contains a paper element and
inner element, designed for longer service intervals.
The system is CARB/EPA certified and the components
should not be altered or modified in any way.
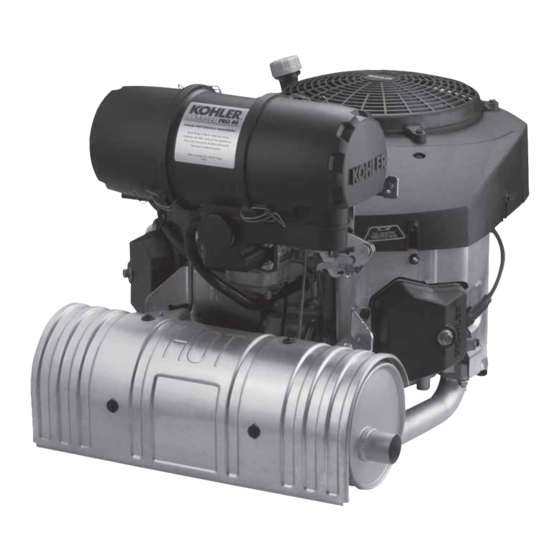
Figure 19. Heavy-Duty Style Air Cleaner.
Service
Weekly and every 150 hours: Check filter minder (if
equipped), unhook the two retaining clips on each end
and remove the end caps. Perform inspection of the
paper element and inlet screen area.
Seasonally or every 300 hours of operation (more
often under extremely dusty or dirty conditions),
replace the paper element and check the inner
element. Follow these steps.
1. Unhook the two retaining clips on each end and
remove the end caps from the air cleaner housing.
2. Check and clean the screen area on the inlet side.
Pull the air cleaner paper element out of the
housing on opposite side. See Figures 20 and 21.
Inlet Screen
Figure 20. Accessing Inlet Screen.
11
