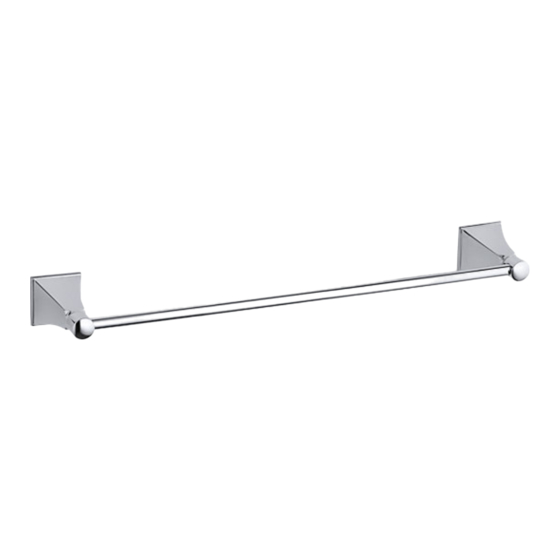
Kohler Memoirs 486T Instrucciones de instalación - Página 3
Navegue en línea o descargue pdf Instrucciones de instalación para Mobiliario interior Kohler Memoirs 486T. Kohler Memoirs 486T 4 páginas. Accessory

ACCESSORY SERVICE PARTS
487T
490T
492T
10456T
37352T
37354T
1061576
57597
1001912
1002853**
1041023
**Color code must be specified when ordering
1243009-2A-A
Towel Ring
TP Holder
Robe Hook
Soap Dish
Covered TP Holder
Toilet Brush Holder
1119648**
1014802
1119664
79138
1169924
59608
1001740**
79138
36715**
1046290
1093960**
47
INSTALLATION
How To Install The Bracket
Only For 485T/486T/488T/37353T/37355T
As Fig 1 shown,
select a proper position on the wall to stick the templet, ensure
the templet is horizontal and keep the smaller hole downward as shown. Drill
hole in the finished wall as required.
Only For 10454T
Select a location to install tissue holder. As Fig.2 shown, mark the center point
on the finished wall, and keep the center-to-center distance at 170~195mm.
Use a level to ensure that all center points are horizontal and equidistance.
Mark anchor(1) hole location vertically 12.7mm above and below the center
point as Fig.3 shown. Drill hole in the finished wall as required.
Note: Ensure that all center points are horizontal, otherwise may result in slant
of tissue holder.
Only For 487T/490T/492T/10456T/37352T/37354T
Select a location on the vertical wall to install the bracket.
anchor mounting hole location on wall as shown, ensure the large slotted
mounting hole of the plate upward, the smaller hole of the plate downward and
two screw holes are vertical. Drill hole in the finished wall as required.
For All Products
As Fig 5 shown,
press the anchor(1) into the hole. Orienting the large slotted
mounting hole of the plate upward, the smaller hole of the plate downward and
two screw holes are vertical, secure the plate(2) with the self-tapping screw(3).
6
1243009-2A-A
610
72
47
33
662
37353T
647
600
33
37355T
As Fig 4 shown,
mark
216
146
P N: XXXXXXX
Fig.1
170~195mm 170~195mm
Level
Center point
Fig.2
Mounting hole
Center point
Fig.3
Fig.4
1
2
3
Fig.5
3
