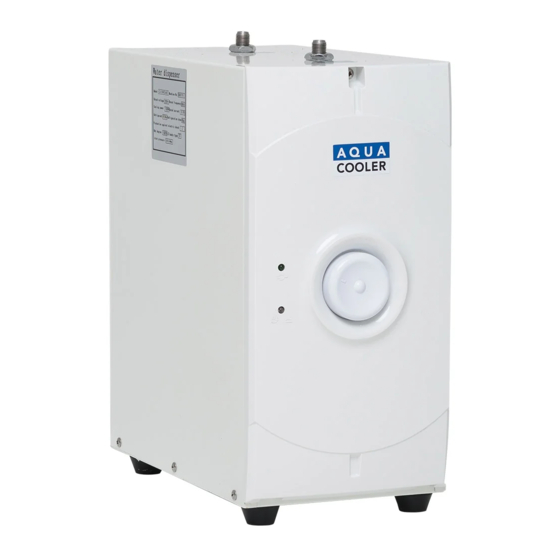
Aqua Cooler H2O NOW Manual de uso y mantenimiento - Página 5
Navegue en línea o descargue pdf Manual de uso y mantenimiento para Enfriador Aqua Cooler H2O NOW. Aqua Cooler H2O NOW 8 páginas.

Connecting the fountain to mains water supply:
The installation must be in accordance with AS/NZS 3500.1 and AS/NZS 3500.2.
Aqua Cooler recommends this process is performed by qualified personnel only.
1. Ensure power is switched off, the unit should not be turned on until the internal tank
is full.
2. Refer to photo on the next page for parts assembly example.
3. Ensure proper ventilation by allowing 50mm clearance on each side of the cooler.
4. The unit is supplied with a mains pressure relief valve and a shut off valve which must
be installed in between the mains water supply source and the underbench chiller
"water inlet" fitting.
5. Minimum water pressure is 100 kpa and maximum is 700 kpa. The recommended
maximum water inlet temperature is 38°C.
6. Please note this unit is fitted with a waste drain and connection to the mains water
drainage system is required.
7. Check the available power supply against the underbench chiller data plate to assure
correct electrical service. Be sure that the plug is fully inserted into the grounded
outlet and that no other appliance is plugged into the same outlet.
8. Connect the mains water to the underbench chiller via 1/4" pipe, ensuring that the
supplied mains pressure relief valve is placed inline between the mains water source
and the water chillers water inlet fitting. We recommend a shut off valve or similar is
installed between the mains water pipework and the pressure limiting valve.
9. Connect the chilled water to the faucet (sold separately) from the water outlet
connection on the underbench chiller to the inlet point connection of the faucet,
please refer to your chosen faucet details for further information.
10. Turn on water supply, ensuring you turn your faucet on to purge the system of air
until a steady stream of water appears from your faucet. Continue to flush fresh
water through the system for 5 minutes.
11. Turn on the thermostat to desired coldness and wait for the water to chill down for
the first time.
12. For models equipped with faucet or glass filler, please assemble the faucet or glass
filler by placing the neck onto the desired position of the sink.
13. Check all connections for water leaks.
Removing from service:
1. Disconnect the power supply cord.
2. Disconnect the water supply.
3. Disconnect the faucet from unit. Refer to your faucet instructions for further
information.
4. Drain the reminding water inside the reservoir.
5
