DeZURIK
Manual G-Series Actuators on PEC Eccentric Valves
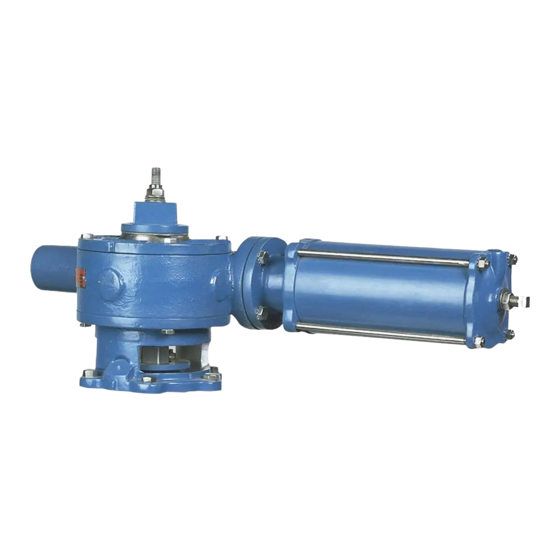
Actuator Installation
Non-Submerged Service Actuators
1. Place the valve in the position it was in when the actuator was removed. Normally this will be so the
plug is in the lowest position in the valve body.
2. Line up the scribe marks on the valve and actuator made during actuator removal, then set the
actuator on the valve so the valve shaft slides into the actuator gear sector.
3. Fasten the actuator adaptor to the valve with six screws.
4. Slide the pointer and wrenching nut down the plug stud so it rests on top of the gear sector; the
pointer should point to indicate the correct valve position. If the valve is a size 24" thru 36", hold the
keys in position when you slide the wrenching nut over the plug stud and guide the keys into the
gear sector and stem slots. Then install the four screws fastening the wrenching nut to the gear
sector.
5. Place the spring washers on the plug stud as shown in Figure 4.
6. Screw the lock nut down the plug stud until the spring washers are completely compressed, then
back the nut off until the washers return to their normal unstressed shape.
7. If the valve is a size 24" thru 36", tighten the #2 lockscrews and then the #1 lockscrews to hold the
keys in place. Skip this step if the valve is a size 4" thru 20".
8. Pipeline flow may now be restored.
Recommended Spare Parts Replacement
Follow these steps to replace the recommended spare parts in this actuator. This procedure is
dependent upon the actuator size (see Figure 1); make sure you are using the correct section for your
actuator.
Size 6 and Size 12 Actuators
1. Remove the actuator from the valve as described in the ACTUATOR REMOVAL Section of this
Instruction.
2. Scribe corresponding lines on the actuator cover and housing, then remove the cover screws and
cover from the top of the actuator (non-submerged units).
3. Note the position of the gear sector in the housing, then lift the gear sector out.
4. Remove the pipe plug in the side of the housing.
5. Reaching in thru the hole where the pipe plug was, drive out the pin connecting the worm gear to
the actuator drive shaft. Take the pin out of the housing.
D10063
(Continued)
When Eccentric valves are mounted in a vertical pipeline, or mounted in a
horizontal pipeline with the plug stem horizontal, there is a chance that
gravity will cause the plug to swing to a lower position in the valve body
when the actuator is removed. To avoid this hazard, place the plug in the
lowest position before removing the actuator.
Page 10
August 2012