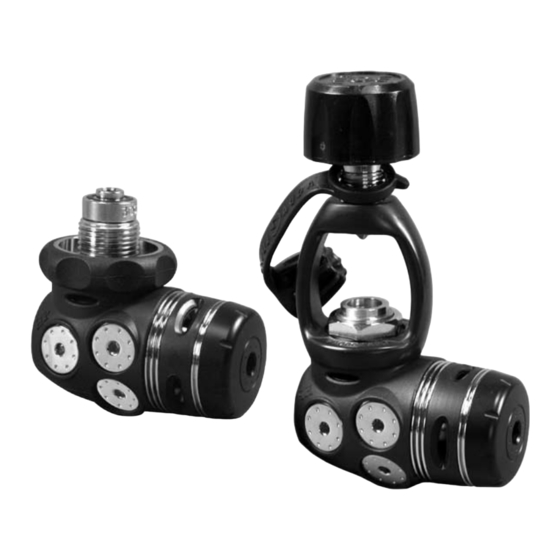
Aqua Lung Legend First Stage Manual técnico de mantenimiento - Página 4
Navegue en línea o descargue pdf Manual técnico de mantenimiento para Equipo para DJ Aqua Lung Legend First Stage. Aqua Lung Legend First Stage 18 páginas.

4
DISASSEMBLY PROCEDURE
NOTE:
Before performing any disassembly, refer
to the exploded parts drawing, which references all
mandatory replacement parts. These parts should
be replaced with new, and must not be reused
under any circumstances – regardless of the age of
the regulator or how much use it has received since
it was last serviced.
CAUTION:
Use only a plastic or brass o-ring removal
tool (p/n 944022) when removing o-rings to prevent
damage to the sealing surface. Even a small scratch
across an o-ring sealing surface could result in
leakage. Once an o-ring sealing surface has been
damaged, the part must be replaced with new. DO
NOT use a dental pick or any other steel instrument.
1. Remove the hoses from the first stage using the appro-
priate sized wrenches. Install spare HP and MP port plugs
into the empty ports, leaving one MP port and one HP port
open.
. Using an 8 mm hex key, remove the cap (9) and lift off
the ribbed washer (6).
3. With your fingers, remove the secondary diaphragm (28).
Turn the first stage over so the piston (27) falls out into your
hand.
4. With your fingers, stretch the spacer (25) and slide it off
the spring retainer (1).
5. Using an 8mm hex key, unscrew and remove the adjust-
ment screw (4). Remove the washer (3). Lift out the main
spring ().
NOTE: The washer may be inside the adjustment
screw. If so, gently tap the adjustment screw
against the work bench and the washer will
fall out.
6. Install a vise mounting tool (p/n 511630) into one of the
HP ports. Secure the vise mounting tool in a bench vise
with the spring retainer (1) facing upward. Using a 3mm
open-end wrench, unscrew the spring retainer from the
body. Lift out the spring pad (0). Using a brass o-ring tool
(p/n 9440), remove the thrust washer (19a), then remove
the first stage from the vise.
