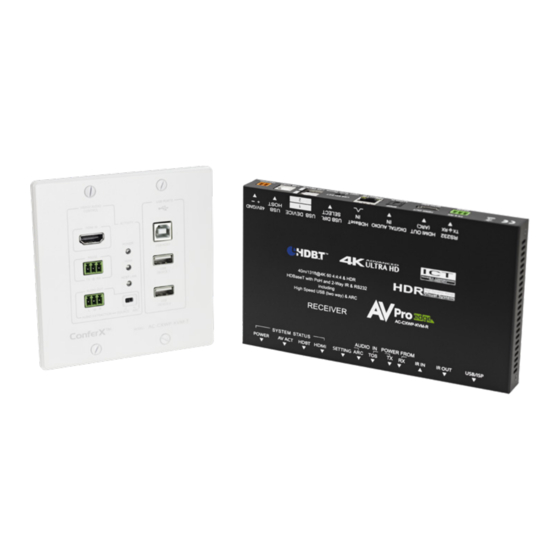
AVPro Edge AC-CXWP-KVM-KIT Manual de inicio rápido - Página 3
Navegue en línea o descargue pdf Manual de inicio rápido para Extensor AVPro Edge AC-CXWP-KVM-KIT. AVPro Edge AC-CXWP-KVM-KIT 4 páginas. Hdmi & bi-directional usb extension kit with hdbaset technology

You can make a cable, or a premade cable can be purchased separately (AC-
CABLE-3PIN-2CH).
Follow the diagram below if you are making your own cable.
1. Plug the 3 pin connector into either the Tx or Rx (the audio port on both the Tx
and the Rx are always active). The port is labeled "L/R Audio Extraction".
2. Plug the L/R stereo cables into the audio input of an amplifier or AVR.
3. Set the audio output of the source/display to 2CH PCM
ARC
ARC can return audio from a display upstream to an audio device. ARC on the
KVM Wall Plate is enabled simply by flipping the Audio Extraction Switch to "ARC".
ARC audio input can be selected using the "Audio IN" switch on the RX device. ARC
audio can be extracted from the TX 2 ways:
1. HDMI Input (ARC): Up to DD+ Atmos*
2. L/R: 2CH PCM Only
Remember, ARC must be enabled in source/display to use over HDMI
*Must be supported by both devices
USB Extension
The AC-CXWP-KVM-Kit can extend USB 2.0 bidirectionally up to 40 meters. USB
Direction is selected by the "USB DIR. SELECT" switch on the RX. Use the USB Type
A ports to extend USB devices to the PC on the opposite USB type B port.
ac-cxwp-kvm-kit
hdmi
cat 6a
usb
Table top
conference control
Troubleshooting
1. Try different HDMI cables. A defective HDMI cable can bring the entire system
down.
2. If using short HDMI cables (.5m, 1m) try a longer cable. Some short HDMI
cables do not sync well.
3. Use the built in Test Pattern generator to confirm that the infrastructure is
passing a signal
4. Re-terminate the Category cable (even if a cable tester indicates that the
cable is passing signal).
bi-directional usb extension
Pan tilt
zoom Camera
4K Display
