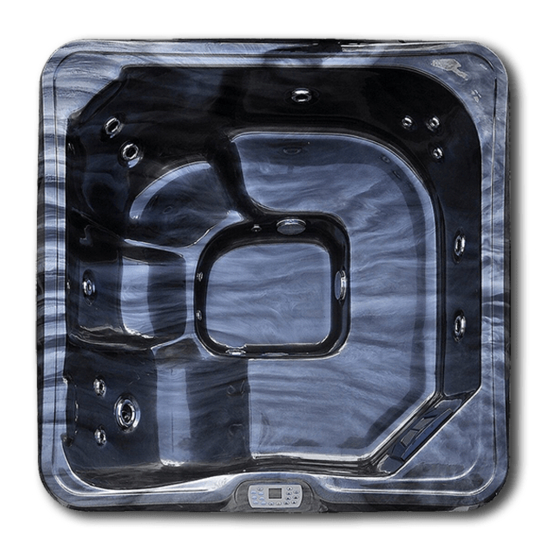
Aqua Pulse Spas Coral Classic Spa Manual del usuario - Página 7
Navegue en línea o descargue pdf Manual del usuario para Bañera de hidromasaje Aqua Pulse Spas Coral Classic Spa. Aqua Pulse Spas Coral Classic Spa 15 páginas.

just apply the amounts of chemical that they tell you to apply. The reason for this is that they might set the
parameters differently to what your spa requires.
Water chemistry test history showing results for Free Chlorine, Total Chlorine, pH, Alkalinity, Calcium Hardness &
Cyanuric Acid, must be kept as a dated once-a-month digital reference as part of your warranty terms. This test
history will be required in the event of a warranty claim. It is a requirement of the Warranty Terms to keep dated
once-a-month digital water test result of the water chemistry supplied from a professional pool or spa store. Your
warranty will be made void if you cannot show these results.
THE FOLLOWING CHEMICALS CANNOT BE USED IN YOUR SPA:
Bromine, Liquid chlorine, Hydrochloric acid, Trichlor chlorine, Dichlor chlorine, Stabilized chlorine, Cyanuric acid,
Magnesium, Hydrogen peroxide & Polyhexamethylene biguanide.
SOME OF THESE PRODUCT WILL MAKE YOUR FIBREGLASS SPA SHELL DEFORM IN SHAPE & CREATE
BUBBLES & HOLES IN THE SPAS ACRYLIC LAYER.
Your warranty will be made void if you use any of these products.
HOW TO REMOVE YOUR SPAS FILTER
Remove the flat head screw in the filter box face and dispose of it.
DO NOT REINSTALL THE SCREW.
1.
Slide the face plate on the filter box vertically upwards until it separates away from the filter box.
2.
Remove the leaf catcher by sliding it horizontally towards the centre of the spa.
3.
To remove the filter, turn the handle on the top of the filter anti-clockwise until
you can lift the filter out of the filter box.
4.
To install the filter, place the filter inside the filter box and turn the handle on the
top of the filter clockwise. Do not turn the filter with force just gently screw it in
so it can be easily removed for weekly cleaning.
5.
To install the leaf tray slide it horizontally into the filter box, make sure the tray sits in the middle of the
locating grooves. The filter face plate will not install if you have the leaf tray outside of the locating grooves.
6.
To install the face plate on the filter box slide the face plate vertically downwards.
Note:
The black filter face will go white where the water and air meets from chemical exposure.
This is unpreventable and can occur very quickly if you over sanitize the water.
WEEKLY FILTER CLEANING
Once a week remove the filter from the spa and wash thoroughly with a garden hose, then place the filter in a
bucket of cold water and add 125ml of Filter Cleaner & Degreaser #9 or Filter Cleaner & Degreaser 1Litre Bottle.
Agitate the water and leave the filter submerged to soak for 24 hours. After 24hours remove the filter, wash it
thoroughly and allow it to completely dry out in an area exposed to the sun or wind.
It is recommended to purchase a spare filter and alternate between the filter each week to make the cleaning
process easier. Filters which are not cleaned weekly can cause your spa to stop cleaning & heating.
You filter needs to be replaced every twelve months, however if you are rotating between two filters this will
require replacement every two years. To order your replacement filter
supplies-parts/universal-cartridge-filter-2/
FILLING YOUR SPA WITH WATER – AVOIDING AIR LOCKS
The correct way to fill your spa with water is to remove the spas filter
and place your hose inside the filter box. Be sure to remove the fitting
off the hose to prevent it from falling into the spas plumbing.
Placing the hose inside the spas main seating area may cause a build-
up of air inside the plumbing creating an air lock. Air locks can stop the
pumps and heater from working.
To help avoid this problem ensure you fill up the spa through the filter
box. You can tell if you have an air lock by turning on the pumps, if no
https://www.aquapulsespas.com.au/spa-
7
