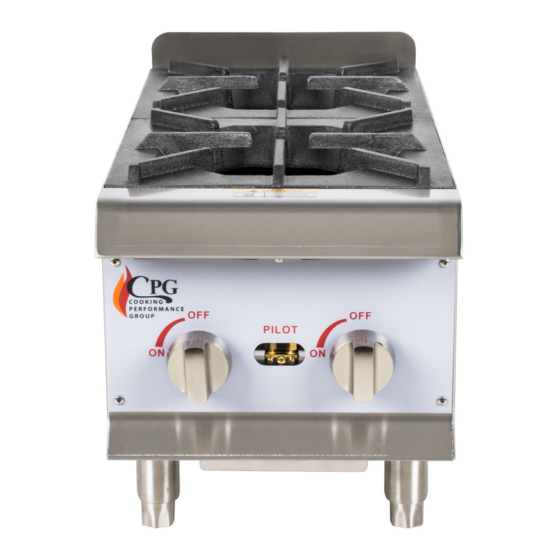
CPG 351RCPG24NL Manual del usuario - Página 5
Navegue en línea o descargue pdf Manual del usuario para Gamas CPG 351RCPG24NL. CPG 351RCPG24NL 7 páginas. Countertop range
También para CPG 351RCPG24NL: Manual de piezas (5 páginas)

User Manual
351RCPG12NL, 351RCPG24NL, 351RCPG36NL
Gas Connection
NOTE:
This appliance ships from the factory configured for areas with an altitude that is lower than
6,500 ft.
1 .
Ensure gas supply and gas type, as shown on unit serial plate agree . Unit installation must conform
with the National Fuel Gas Code, ANSI Z223 . 1 /NFPA 54, the National Gas Installation Code,
CSA-B149 . 1 , or the Propane Installation Code, CSA-B149 .2 as applicable and in accordance with local
codes .
2 .
A manual gas shut-off valve must be installed in the gas supply line ahead of the appliance and gas
pressure regulator for safety and ease in servicing .
3 .
The gas pressure regulator supplied must be installed on the appliance prior to connecting the
equipment to the gas line . Failure to install a regulator could be potentially hazardous and will void
limited equipment warranty .
4 .
Pipe threading compound must be resistant to the action of liquefied petroleum gases.
CAUTION:
Do NOT use an open flame to check for leaks. Check all gas piping for leaks with a soap and water
solution prior to operating unit .
Gas Conversion
The following instructions are for the conversion from Natural Gas to Propane (L .P .) on all models . The
conversion should be done before connecting the unit to the gas supply . It is recommended that an
authorized service agency perform this conversion .
1 .
Remove the knobs and front panel .
(Fig . 1)
2 .
Unscrew bolts and pilot valve, then
remove the manifold . (Fig . 2)
3 .
Replace the orifice fittings into the
valve . (Fig . 3)
4 .
Install the front panel knobs .
5 .
Before installing the regulator (Fig .
4), unscrew the octagonal cap (Fig .
5) . If you can read NAT on the
plastic insert, flip it over and
snap back in place . It should now
read LP . (Fig . 6)
www.cookingperformancegroup.com
FIG. 1
FIG. 3
FIG. 5
FIG. 2
FIG. 4
FIG. 6
5
