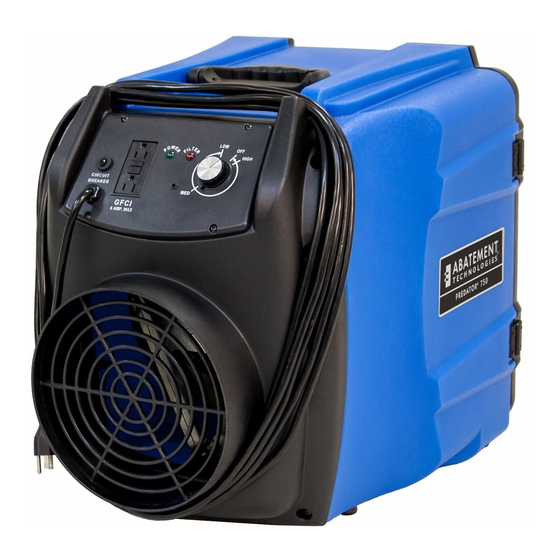
Abatement Technologies PREDATOR PRED750 Manual de instrucciones - Página 11
Navegue en línea o descargue pdf Manual de instrucciones para Fregadora Abatement Technologies PREDATOR PRED750. Abatement Technologies PREDATOR PRED750 19 páginas. Portable air scrubber

Filter Change Procedure
The pre-filter indicator light located on the control panel will indicate when one or more of the particulate pre-
filters need to be changed. This is based on a factory setting and the filters can be changed earlier, if desired,
to maintain a minimum air flow requirement. Since the Pre-filter Indicator Light is based on the pressure drop
across all of the pre-filters, it cannot indicate specifically which pre-filter needs to be changed. Therefore, when
the Pre-Filter Indicator Light turns on, the first stage filter should be changed first to see if the light turns off. If
the light remains, then the second stage filter should be changed.
Changing the First Stage Filter:
1. With the unit operating, turn the latches on the pre-filter access door counter-clockwise and open the
door.
2. To remove the first-stage filter, lift the second stage pleated filter up until the bottom clears the filter door
cavity. Tilt the bottom of the pleated filter out and remove.
3. Replace the first stage filter with a new one. Reseat the second stage filter into the filter door cavity.
4. Close the door and lock it in position by turning the latch clockwise. Make sure the door is flush against
the PRED750 cabinet before closing latch.
5. If the Filter Change Indicator light remains "ON" after changing the first-stage filter, the second stage
filter should be replaced.
Changing the Second Stage Filter:
1. With the unit operating, turn the latches on the pre-filter access door counter-clockwise and open the
door.
2. Open the pre-filter access door.
3. Remove the second-stage filter by lifting it up until the bottom clears the filter door cavity. Tilt the bottom
of the pleated filter out and remove. Replace it with a new one.
Note: If an alternate VAPOR-LOCK® filter is being used, be sure to remove it from its poly bag before
installing it in the unit. VAPOR-LOCK® filters are packaged in poly bags to preserve the integrity of the
carbon granules.
4. Close the door and lock it in position.
5. If the Filter Change Indicator light remains "ON" after changing the second-stage filter, the HEPA filter
should be replaced.
Changing the HEPA Filter:
1. Turn the unit "OFF", disconnect the unit's power cord from the electrical outlet and open the pre-filter
access door.
2. Remove the bolts that secure the HEPA filter retaining brackets in place (remove the lower bracket first,
then the top bracket), set the brackets and bolts aside, and remove the HEPA filter from the cabinet.
3. Orient the new HEPA filter so that the pleats are in the vertical position. For reference purposes, the top
panel of the filter has various labels affixed to it and the rear of the filter is the gasketed end. Carefully
install the new HEPA filter (P/N: H161606-99) inside the cabinet, gasketed end first. Position the filter
inside the cabinet so that it is flush against its sealing surface.
4. Re-attach the HEPA filter retaining brackets to secure the filter in its proper position. The top bracket
should be re-attached first, then the bottom bracket. Do not over-tighten the bolts.
Note: The HEPA filter is delicate and should be handled with care. When removing or reattaching the
HEPA filter retaining brackets, do not touch the filter media; otherwise, damage to the filter and leakage
of contaminated air could result.
5. Close the pre-filter access door and lock it in position.
Warning: Use only Abatement Technologies pre-filters, HEPA filters, and replacement parts. Substitute parts
void the warranty, jeopardize worker and environmental safety, and adversely affect engineered
performance levels.
COMPONENT REPLACEMENT AND CARE OF THE UNIT
Warning: To reduce the risk of fire, electrical shock or personal injury, always turn the unit "OFF" and
disconnect power cord from supply receptacle before removing the control panel, replacing the HEPA
9
