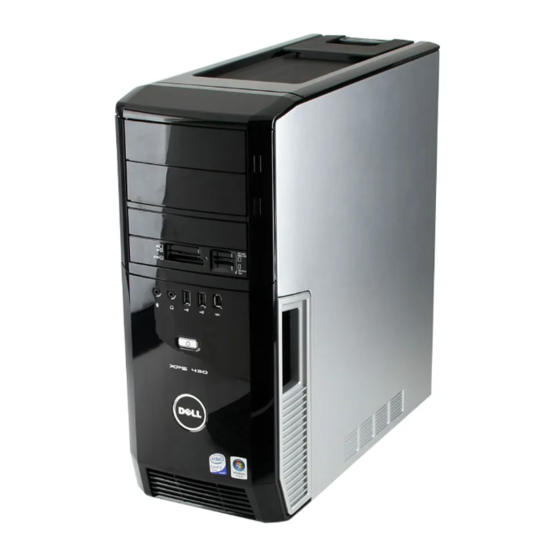
Dell XPS 430 Manual de servicio - Página 13
Navegue en línea o descargue pdf Manual de servicio para Escritorio Dell XPS 430. Dell XPS 430 42 páginas. Dell xps computer setup
También para Dell XPS 430: Puesta en marcha (2 páginas)

6. Pull the sliding plate lever down and hold in place.
7. Slide the hard drive into the flex bay drive until the sliding plate clicks into place and the drive snaps into position.
8. Attach the power and hard drive cables to the hard drive.
9. Replace the drive panel (see
10. Replace the computer cover (see
Removing a Hard Drive From the FlexBay
1. Follow the procedures in
Before You
2. Remove the computer cover (see
3. Remove the drive panel (see
4. Disconnect the power and hard-drive cables from the back of the drive.
5. Pull the sliding plate down and hold in place.
6. Slide the hard drive out of the FlexBay.
NOTICE:
Ensure the FlexBay knob is turned in the anticlockwise direction, failing which can result in the knob being broken.
7. Turn the FlexBay knob to its default position. See the illustration for
8. Replace the drive panel (see
9. Replace the computer cover (see
Replacing the Drive Panel
1. Follow the procedures in
Before You
2. Remove the computer cover (see
1
sliding plate lever
3. Grasping the lever on the sliding plate, pull the sliding plate downward and hold in place.
NOTE:
The sliding plate secures and releases the drive panel and helps to secure the drives. Push from the inside and pivot the drive panel to the left to
release the panel from its side hinges.
Replacing the Drive
Panel).
Replacing the Computer
Cover).
Begin.
Removing the Computer
Cover).
Replacing the Drive
Panel).
Replacing the Drive
Panel).
Replacing the Computer
Cover).
Begin.
Removing the Computer
Cover).
2
sliding plate
3
Installing a Hard Drive in the FlexBay
drive panel
to note the default FlexBay knob position.
