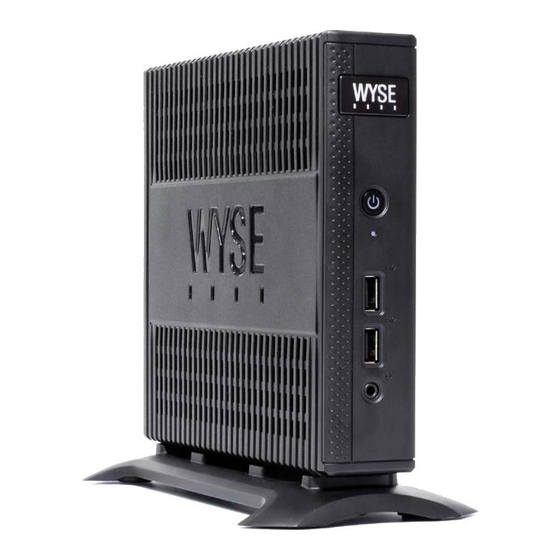
Dell X90m7 Manual de instalación - Página 22
Navegue en línea o descargue pdf Manual de instalación para Servidor Dell X90m7. Dell X90m7 24 páginas. Dell wyse d class, wyse x class, and wyse z class flash upgrade option kit

Chapter 5
18
Step 4: Use the Configured USB Key to Install Firmware on Each Thin Client
In this step, you will boot each target device you want to convert from the configured
USB key so that the USB key will push the contents from the USB key onto the target
device. NOTE: BIOS selection, movement, and exit instructions are displayed in the
BIOS window.
Depending on your device, use the following guidelines to configure it to boot from the
configured USB key:
For D90D7 and D90DW thin clients:
•
·
For X90m7 and X90mw mobile thin clients:
•
·
For Z90D7, Z90S7 Z90DW, and Z90SW thin clients:
•
·
TIP: When booting a target device from the configured USB key (containing the
contents to be pushed to a target device), you will be prompted to continue with the
push process (to continue, type y and press Enter). Once the push process is complete,
you will be prompted to reboot (to reboot, press Enter and remove the USB key).
CAUTION: DO NOT interrupt the installation/conversion process. All process
requirements are done automatically.
TIP: You can use the configured USB key to push the firmware onto as many target
devices as you want (repeat "Step 4: Use the Configured USB Key to Install Firmware on
Each Thin Client").
Step 5: Verifying Thin Client Operation
After the thin client reboots, you can verify your general client information. For
example, the Client Information dialog box (D class), or the System Information dialog
box (X class and Z class) information is correct (that the new Flash is correctly
recognized by the system). After verification, the thin client is ready for operation and
setup by an administrator.
TIP: Administrator and other documentation for your thin client model are available at:
http://www.wyse.com/manuals.
CAUTION: For X90m7 and X90mw mobile thin clients, you can change the BIOS Setup
Utility back to its original state.
You must change the BIOS Setup Utility (you do not need to restore your settings
later, as the new firmware will restore default settings automatically after you
start your thin client): Be sure the client is shut down and disconnected from any
network. Attach the configured USB key to the thin client. During boot, press and
hold the Delete key. Enter the password Fireport (this is case sensitive) and press
Enter. Select the Advanced tab. Using the down arrow key, select the Boot from
USB option and press Enter. Select the Enabled option and press Enter. Press the
F10 key, and then press y to save the BIOS settings and reboot. Follow the
process prompts.
You must change the BIOS Setup Utility (you can restore your settings later in
"Step 5: Verifying Thin Client Operation"): Be sure the client is shut down and
disconnected from any network. Attach the configured USB key to the mobile
client. During boot, press and hold the F2 key. Enter the password Fireport (this
is case sensitive) and press Enter. Select the Boot option and press Enter. Select
the Legacy option and press Enter. Select the Normal Boot Menu option and
press Enter. Select the option displaying your USB key vendor name and move it
to the 1 position by using the + key. Save the BIOS settings and reboot. Follow the
process prompts.
You must use the one-time boot menu (the one-time boot menu will not modify
your default BIOS configurations): Be sure the client is shut down and
disconnected from any network. Attach the configured USB key to the thin client.
During boot, press and hold the P key. Select the USB HDD option (displaying
your USB key vendor name) and press Enter. Follow the process prompts.
