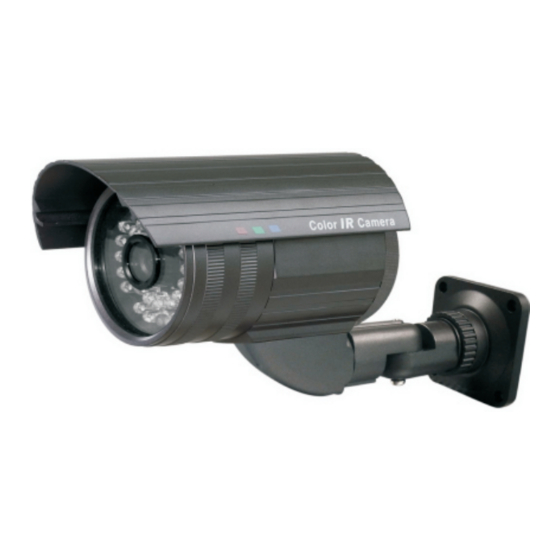
Avue AV762WDIR Manual de inicio Guick
Navegue en línea o descargue pdf Manual de inicio Guick para Cámara digital Avue AV762WDIR. Avue AV762WDIR 2 páginas.

AV762WDIR
1. Use the Appropriate Power Supply
The input power for AV762WDIR is DC 12V. Be sure to connect it to the appropriate power.
Wrong connection may cause malfunction and /or damage to the video camera.
2. Do not attempt to disassemble the camera.
To prevent electric shock, do not remove screws or covers. There are no user serviceable
parts inside.Ask a qualified service person for servicing.
3. Handle the camera with care.
Do not abuse the camera. Avoid striking, shaking, etc. The camera could be damaged
by improper handling or storage.
4. Do not expose the camera to rain or moisture, or try to operate it in wet areas.
Do not place the camera in the following locations:
Locations where temperature is lower than -20 C or higher than 55 C;
Locations where humidity is higher than 90%;
Locations where there are large amounts of water vapor and steam.
1. 1/3"
SONY
960H CCD;
2. High resolution, 700TVL, true color reducibility.
3. Support 2DNR
4. WDR
5. IR SMART control
6. Waterproof design
7. 3-Axis directional bracket, for adjusting camera angles, simple operation
8. OSD menu
1
2
AV762WDIR has advanced image technology with resolution as high as 700TVL,true color
reducibility;Support 2DNR, WDR, IR SMART control, AV762WDIR comes with a powerful OSD
menu that include motion detection, privacy mask, HLC, BLC, multiple languages, and other
functions.
and 24 hour monitoring,simple operation.
PRECAUTIONS
5. Clean the CCD faceplate with care
When cleaning the CCD panel, do not use strong or abrasive detergents. Use a piece
of lens
tissue or
6. Do not attempt to aim the camera at the sun
Do not attempt to aim the camera at the sun or other extremely bright objects that cause
smear to appear irrespective of whether the camera is operating or not. This can
damage the CCD(Charge Coupled Device).
7.Do not put the camera in a place with interference.
When this camera is installed near the equipment like wireless communication device
that
emits
screen may happen.
FEATURES
PARTS INSTRUCTION
3
4
DESCRIPTION
A waterproof combined with a 3-Axis directional bracket allows for customized viewing
cotton tipped applicator and ethanol.
strong electromagnetic field, some irregularity such as noise on monitor
5
UP
FOCUS
LEFT
SET
DOWN
1.
Hood
2.Camera body
3. Back cover
4. 3 axis bracket
5. OSD(take off the back cover)
6.Four install screws holes
(at bottom of the bracket)
ZOOM
RIGHT
6
