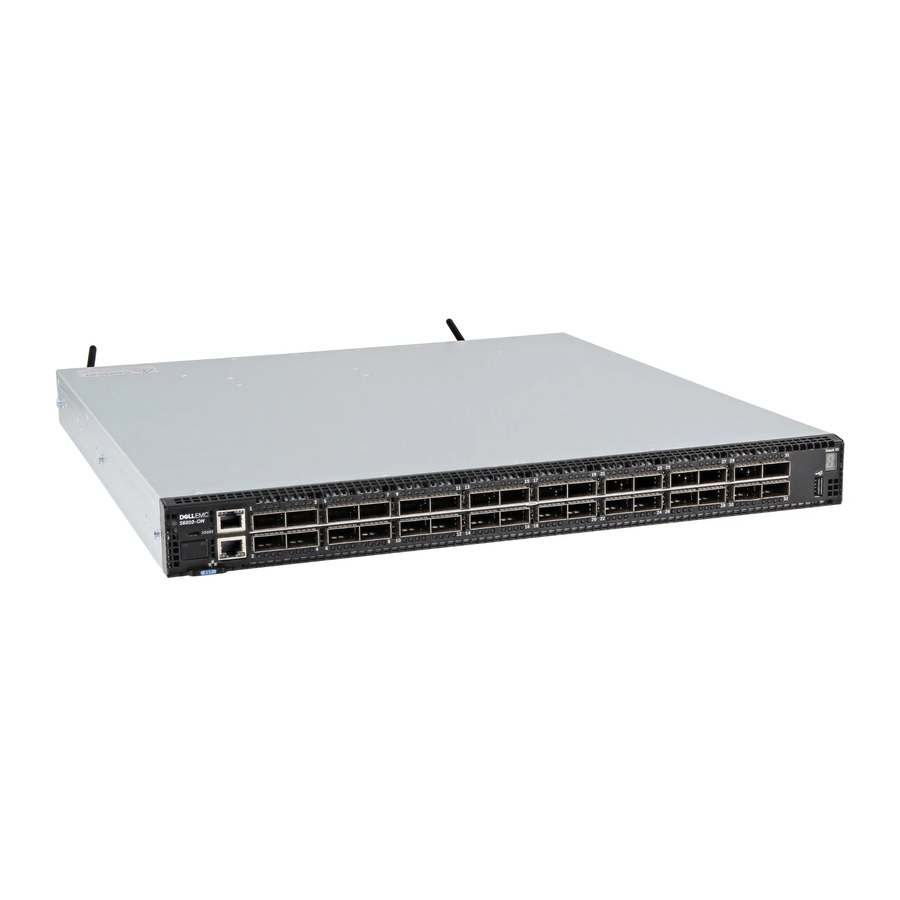
Dell S6010-ON Manual de instalación - Página 13
Navegue en línea o descargue pdf Manual de instalación para Interruptor Dell S6010-ON. Dell S6010-ON 46 páginas.
También para Dell S6010-ON: Notas de la versión del firmware (12 páginas)

•
Airflow around the switch and through the vents is unrestricted.
•
Away from sources of severe electromagnetic noise. Cabling is away from sources of electrical noise, such as radios, power lines, and
fluorescent lighting. Ensure that the cabling is safely away from other devices that might damage the cables. If needed, allow one rack
unit (RU) space between devices to provide room for cabling.
•
Positioned in a rack or cabinet, or on a desktop with adequate space in the front, back, and sides of the S6010-ON for proper
ventilation and access.
•
You have enough clearance to the I/O and PSU sides of the switch so you can read the light emitting diodes (LEDs).
•
The switch is rack-mounted before you power it up.
Review these guidelines for rack mounting:
•
Rack mounting—You may either place the switch on a rack shelf or mount the switch directly into a 19" wide, EIA-310-E- compliant
rack.
•
Rack loading—Overloading or uneven loading of racks may result in shelf or rack failure, damage to the equipment or personal injury.
Before loading, stabilize the racks in a permanent location. Mount the components starting at the bottom of the rack, then work to the
top. Do not exceed your rack load rating.
•
Power considerations—Connect only to the power source specified on the unit. When you install multiple electrical components in a
rack, ensure that the total component power ratings do not exceed the circuit capabilities. Overloaded power sources and extension
cords present fire and shock hazards.
•
Elevated ambient temperature—If you install the equipment in a closed rack assembly, the operating temperature of the rack
environment may be greater than the room ambient temperature. The acceptable ambient temperature ranges are listed in
Specifications
under Environmental Parameters.
•
Reduced air flow—Install the equipment in the rack so that you do not compromise the amount of airflow required for safe operation of
the switch. For proper ventilation, position the chassis in an equipment rack or cabinet with a minimum of 5 inches (12.7 cm) of
clearance around exhaust vents.
•
Reverse air flow—To ensure cool air intake and to avoid hot air blow out from the I/O side, ensure that you have the necessary
clearance.
•
Reliable earthing—Maintain reliable earthing of rack-mounted equipment. Pay particular attention to the supply connections other than
the direct connections to the branch circuit; for example, use of power strips.
•
Do not mount the equipment with the PSU side facing in a downward position.
NOTE:
Always handle the system and its components with care. Avoid dropping the chassis or its field replaceable units.
CAUTION:
Always wear an electrostatic discharge (ESD) preventive wrist or heel ground strap when handling a system and its
components. As with all electrical devices of this type, take all necessary safety precautions to prevent injury when installing this
system. ESD damage can occur if components are mishandled.
Cabinet placement
Install the S6010–ON only in indoor cabinets designed for use in a controlled environment.
Do not install the S6010–ON in outside cabinets. For cabinet placement requirements, see
The cabinet must meet minimum size requirements. Airflow must be in accordance with the Electronic Industries Alliance (EIA) standard.
Ensure that there is a minimum of 5 inches (12.7 cm) between the intake and exhaust vents and the cabinet wall.
Rack mounting
When you prepare your equipment rack, ensure that the rack is grounded.
Ground the equipment rack to the same ground point the power service in your area uses. The ground path must be permanent.
S6010-ON ground
Use the S6010–ON in a common bond network (CBN).
Connect the grounding cables as described in
Installing the Ground Lug and Bracket Assembly
Site
Selection.
and
Completing the Ground Wire
Site preparations
Installation.
13
