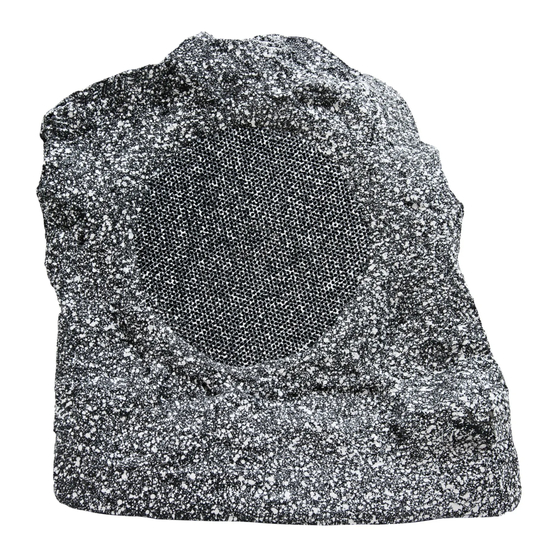
EarthQuake Granite-10D Manual del usuario - Página 6
Navegue en línea o descargue pdf Manual del usuario para Altavoces EarthQuake Granite-10D. EarthQuake Granite-10D 10 páginas. Limestone & granite rock-on series
También para EarthQuake Granite-10D: Manual del usuario (12 páginas)

Applications
• Outdoor Home Theater
• Patio
• BBQ Area
• Pool
• Backyard and Frontyard
• Garden
• Balcony
Features
•
UV treated and weather-resistant enclosure materials
• Epoxy resin durable construction
• Rock-like appearance and finish to easily blend in with any outdoor environment
• Completely sealed speaker with Santoprene surrounds, poly cones and poly dust caps
• High power crossovers (for Granite 10D only).
Wiring Your System
1. Use direct burial wire and measure out how much you will need.
2. Dig a 6-inch deep trench to each speaker.
3. Connect the speaker wire to the speaker. It is recommended that you use heat-shrink tubing
to seal each individual conductor, then heat-shrink the two connections together.
Make sure that all connections are secure. A poor connection can lead to corrosion and a
damaged speaker.
4. Run the wire through the trench to the amplifier.
5. Connect the speaker wire to the terminals on the back of your amplifier.
Make sure that the speaker wires' polarity is connected correctly.
+ (positive, red) to speaker red wire (positive)
– (negative, black) to speaker black wire (negative)
Note: If using the XJ-300FR Stereo Amplifier, wire as described on the adjacent page but bridge
the two positive (red) wires to the subwoofer. This uses the Stereo option and the Mono option
at the same time.
6. Turn your amplifier on and test the system with your favorite music. If the speakers are
operating properly, refill the trench.
ROCK-on Manual
6
Earthquake Sound Corp. | (800) 576-7944 | www.earthquakesound.com
