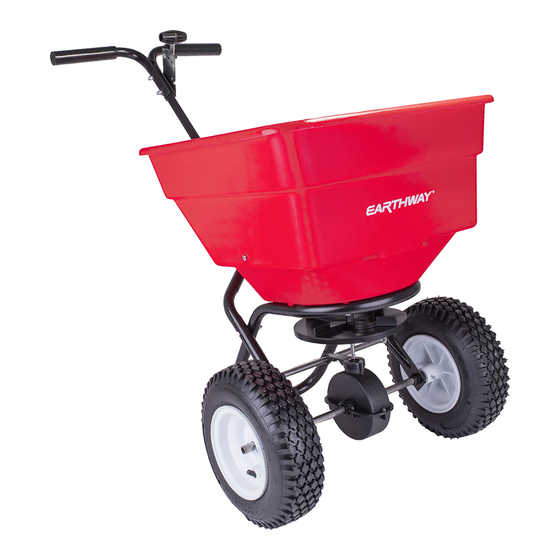
EarthWay 2170T Tow Manual de instrucciones de montaje y funcionamiento - Página 5
Navegue en línea o descargue pdf Manual de instrucciones de montaje y funcionamiento para Esparcidor EarthWay 2170T Tow. EarthWay 2170T Tow 6 páginas. Broadcast spreader

D
N
R
O
OT
ETURN
EARTHWAY PRODUCTS, INC.
1009 Maple Street
P.O. Box 547
Bristol, IN 46507
FOR YOUR RECORDS
Date Purchased
Store Name
HOW TO ORDER SPARE PARTS
All spare parts listed herein may be ordered direct from the
manufacturer, EARTHWAY PRODUCTS, INC. Be sure to
give the following information when ordering.
1. Model Number
2. Part Number
3. Part Description
Call (574) 848-7491 or 800-294-0671, or write for current prices.
The settings furnished on the Rate Setting Chart are intended as
a guide only. Variations in physical characteristics of material
applied, walking/towing speed, and roughness of ground sur-
face may require slightly different spreader settings.
Due to the above conditions,
EARTHWAY PRODUCTS, INC. makes no warranty as to the
uniformity of coverage actually obtained from the settings
EARTHWAY guarantees this product to be free of defects in original workmanship and materials for a period of 90-days from sale to
the original user. If any defect develops during this period EARTHWAY will repair or replace this product at no charge provided the
defect is not the result of mishandling or tampering and that this product is received at the factory with shipping charges prepaid. For
quicker service you may call EARTHWAY at
parts to you. Due to the corrosive nature of most fertilizers and ice melters, EARTHWAY PRODUCTS, INC. makes no warranty or
guarantee against corrosion failure on models with plated steel or painted steel frames. Clean and dry your spreader thoroughly after
each use. Warranty covers parts only, not any labor charges to repair or replace those parts.
T
D
F
R
O
EALER
OR
listed.
574-848-7491
EPAIR
19.
Tension on the flow control lever may be adjusted by
tightening or loosening the tension nut as shown.
OPERATING INSTRUCTIONS
Before filling hopper, become familiar with the operation of this
spreader.
Obtain proper setting for material to be used from the RATE
SETTING CHART included with this spreader.
Move stop bolt on rate gauge assembly to the proper setting.
While pushing spreader forward, pull control lever back to
stop bolt.
To stop, push lever forward to close flow holes before you
stop moving.
When finished, empty any remaining material from hopper.
Thoroughly wash spreader and allow to dry before storing. No
oiling is necessary.
Remove agitator when using Rock Salt to prevent damage to
the gearbox.
WARRANTY
or write and describe the nature of the defect and we will send repair
PAGE 5
