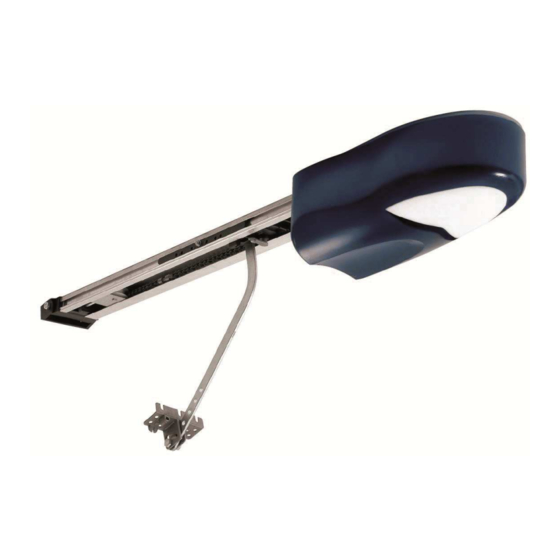
Allmatic CT ACTION 09 Instrucciones de instalación - Página 7
Navegue en línea o descargue pdf Instrucciones de instalación para Unidad de control Allmatic CT ACTION 09. Allmatic CT ACTION 09 8 páginas. For sectional doors

5.7 Reset
If it is necessary to carry out a reset of the control unit (deleting of the parameters of the course and recharge the factory settings), proceed as
follows:
1.
Cut off the power supply from the system
2.
Set the SW1 selector on AUT (automatic)
3.
Press the red key
4.
Keep it pressed while you give again power supply to the system
5.
Keep it pressed again until the flashing light does not turns on 3 times.
6.
At this point release it. The reset has been carried out.
5.8 Deletion of one single transmitter (only with the rolling code decode)
If it is necessary to cancel one single transmitter, proceed as follows:
1.
Set the SW1 selector on AUT (automatic)
2.
Press the hidden key of one transmitter already learned, or press the red key of the control unit, the flashing light turns on.
3.
Press the hidden key and contemporarily the first button of the transmitter which you want to cancel.
5.9 Selection of the decoding type and total deletion of the memory
If it is necessary to delete one single transmitter, proceed as follows:
1.
Set the selector SW1 on AUT (automatic)
2.
Press the hidden key of a transmitter already learned, or press the red key of the control unit, the flashing light turns on
3.
Press the hidden key and contemporarily the first button of the transmitter which you want to delete, the flashing light turns off and the
deletion is completed.
4.
Keep them pressed until you give again power supply to the system.
5.
Keep them again pressed until the flashing light blinks 3 times.
6.
Now release them. Set SW1 on AUTO. The selection of the decoding and the total deletion of the memory have been carried out.
Note: this procedure carries out a total deletion of the memory of the control unit. So, there is the complete erasing of the parameters
previously memorized (gate course, memorized transmitters.....) and the advanced functions go back to the point settings, before of carry
out any other programming. To reset the course it is not necessary to reset the memory!!!!!!!!!
6. Guide to the resolution of the main problems.
Type of problem
On activating the opening command
the automation does not move.
On activating the opening command
the gate moves for a brief time and
then stops.
On activating the opening command,
the automation moves to closure.
You cannot manage to enter into the
remote control programming
You cannot manage to programme
the remote controls
You cannot manage to enter into the
opening/closure programming mode.
The control panel is attached to
power supply by the gate does not
move.
GUARANTEE - In compliance with legislation, the manufacturer's guarantee is valid from the date stamped on the product and is restricted to the
repair or free replacement of the parts accepted by the manufacturer as being defective due to poor quality materials or manufacturing defects. The
guarantee does not cover damage or defects caused by external agents, faulty maintenance, overloading, natural wear and tear, choice of incorrect
product, assembly errors, or any other cause not imputable to the manufacturer. Products that have been misused will not be guaranteed or
repaired. Printed specifications are only indicative. The manufacturer does not accept any responsibility for range reductions or malfunctions caused
by environmental interference. The manufacturer's responsibility for damage caused to persons resulting from accidents of any nature caused by our
defective products, are only those responsibilities that come under Italian law.
6-1622356 rev.4 09-07-2013
Probable cause
No electrical power supply
Burned fuse
Incorrect encoder connection
Jumper direction motor inverted
The gate is not closed
The type of set decoding in the
control panel does not correspond
to the type of remote control in use.
The gate is not closed
A normally closed input is not
active
ITA
ENG
FRA
Check the presence of the electrical voltage and all the connections to
the electrical network.
Substitute the fuse with a similar one.
Check the wiring of the encoder's wires.
Invert the Jumpers.
Close the gate (in the manual). If the gate was closed set selector S1
to manual, wait 1 second and re-set it to automatic. Try again entering
into setting mode.
Check which decoding has been set and possibly select that which
corresponds to the remote control in use.
Close the gate (in the manual). If the gate was closed set selector S1
to manual, wait 1 second and re-set it to automatic. Try again entering
into setting mode.
Check the photocell, stop and limit switch input. If not used they must
be bridged to the common.
ESP
DEU
POR
Solution
pag. 7 di 8
