Allora Positive Contact PCS-250 Manual de instrucciones de instalación - Página 4
Navegue en línea o descargue pdf Manual de instrucciones de instalación para Accesorios Allora Positive Contact PCS-250. Allora Positive Contact PCS-250 12 páginas.

4)
Mounting the bracket and sensor
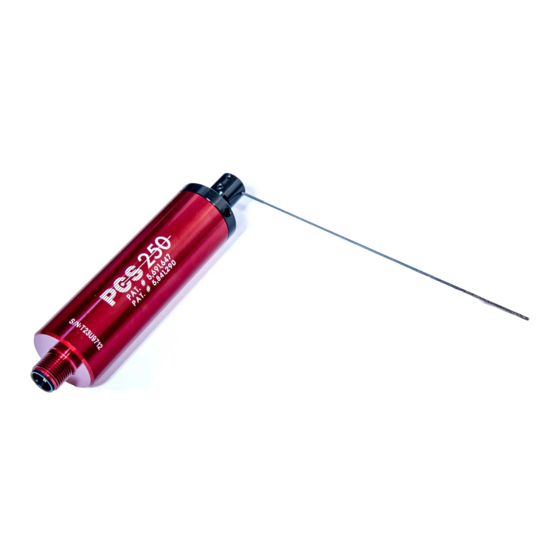
Mount the fabricated bracket and attach the clamping ring. Slide the sensor
into the clamping ring but do not tighten in to place. Slip on the swing arm
assembly ( you do not need to secure it ) and move the sensor forward or
backward until the sensing needle is positioned approximately 1.60 mm back
from the tip of the tool as shown in FIG 4. Also make sure that the sensing
needle extends past the center line of the tool. When this position is realized,
secure the sensor body into place by tightening the clamping ring. Remove
the swing arm assembly.
5)
Final sensor set-up
Install the sensor control unit into the machines electrical cabinet in accordance
with the TCU installation instructions. Connect the cable to the sensor and power
up the control unit. Be sure the cable is properly positioned to avoid any
interference with the machines operation. NOTE: if the cable needs to be
repositioned while attached to the sensor, rotate the entire sensor to avoid
damage to the connector. Make sure that the dip switch on the control unit is set
to correspond to the CW or CCW direction you have selected. Put the swing arm
assembly back on and position it where you want the needle swing to start.
Note: The most common swing angle is 90º or less, but you may start up to 300º
away from the tool if necessary for needed clearance.
Once you have selected the starting point, secure the swing arm assembly to the
sensor. The sensor is now ready to learn the location of the tool. Press the teach
button on the control unit. The yellow LED will illuminate indicating the system is
ready to learn the tool position. Press the teach button again or apply a start
signal. The needle will swing and contact the tool. The sensor has now learned
the location of the tool. Once another start signal is applied and the sensor's
swing angle is not repeated ( plus or minus a small factory preset value) a fault
condition will occur. Refer to the Teach Button section in the TCU installation
instructions for more details.
1.60mm
FIG 4
Page 3
