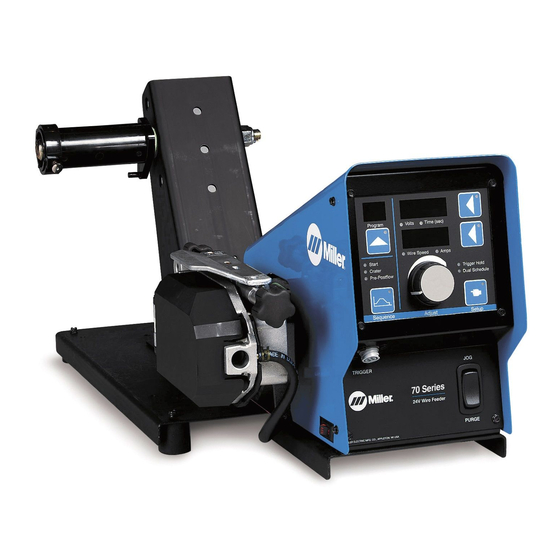
Miller 300618002 Manual del usuario - Página 20
Navegue en línea o descargue pdf Manual del usuario para Sistema de soldadura Miller 300618002. Miller 300618002 44 páginas.

5-3. 14-Pin Plug Information
J
A
K
I
B
L
H
N
C
M
G
D
F
E
*The remaining pins are not used.
5-4. Installing Welding Gun
4
3
Installing gun with
Accu-Mate connection
1
OM-1500-9 Page 16
Pin*
A
24 volts AC with respect to socket G.
B
Contact closure to A completes 24 volts AC contactor control circuit.
G
Circuit common for 24 volts AC circuit.
C
+10 volts DC input from power source to wire feeder with respect to socket D.
D
Remote control circuit common.
E
0 to +10 volts DC output signal from wire feeder to power source with respect to socket D.
H
Voltage feedback; 0 to +10 volts DC, 1 volt per 10 arc volts.
F
Current feedback; 0 to +10 volts DC, 1 volt per 100 amperes.
6
5
Installing gun without
Accu-Mate connection
2
1
Pin Information
1
Gun Locking Tab
2
Power Clamp Knob
3
Gun Connection End
4
Power Pin Groove
Installing gun with Accu-Mate
connection
Loosen power clamp knob to allow
power pin of gun to clear the gun
locking tab.
Push power pin into power clamp
as far as possible to align the
groove in the power pin of the gun
with the gun locking tab.
Secure gun by tightening power
clamp knob.
Installing gun without Accu-
Mate connection
When using a gun without the
groove in the power pin, loosen
power clamp knob and rotate gun
locking tab 180 degrees. This pre-
vents the locking tab from extend-
ing into the power pin gun connec-
tion.
Push power pin into power clamp
as far as possible.
Secure gun by tightening power
clamp knob.
5
Empty Pressure Slots
2
6
Pressure Blocking Clip
Ref. 249 398-A
