Miller ArcStation Manual del usuario - Página 21
Navegue en línea o descargue pdf Manual del usuario para Accesorios de soldadura Miller ArcStation. Miller ArcStation 44 páginas.
También para Miller ArcStation: Manual del usuario (20 páginas)
I.
Installing Tool Chest To Welding Table
Side View
AA and ZZ for dust tray rails or
just AA for tool chest brackets
J. Installing Bottom Tray
Tools Needed:
1/2 in.
hex bit 3/16 in.
AA and ZZ
Tools Needed:
hex bit 3/16 in.
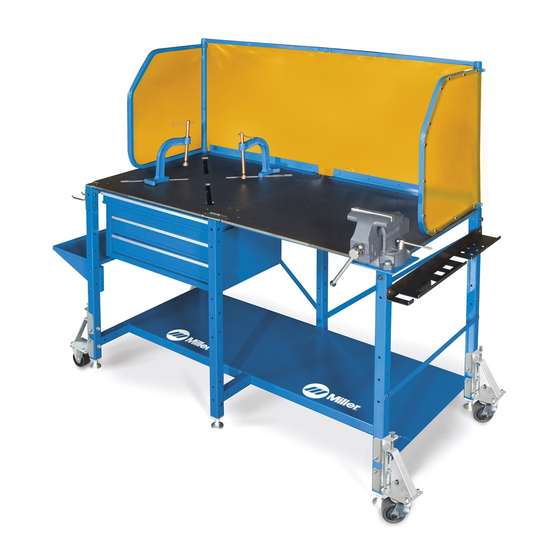
Welding table is shown
with optional tool chest.
AA and ZZ
Use four bolts AA and four locknuts
ZZ for dust tray rails or just four
1/2 in.
bolts AA for tool chest brackets and
install tool chest assembly to the
welding table. Be sure that dust tray
rails or tool chest brackets are on
the inside of the end subframes.
If the welding table has an X-pattern
top, do not install dust tray at this
time.
Proceed to Subsection J.
AA and ZZ for dust tray rails or
just AA for tool chest brackets
!
It is recommended that a piece of
cardboard be placed on the floor to
prevent damaging the finish on the
end subframes. Rotate the welding
table on its side as shown.
Use four bolts AA and four locknuts
ZZ and install bottom tray to bottom
brackets of end subframes.
Tighten all bolts and locknuts.
If the welding table has an X-pattern
top, do not install dust tray at this
time.
Use two people to rotate
welding table
OM-244 997 Page 17