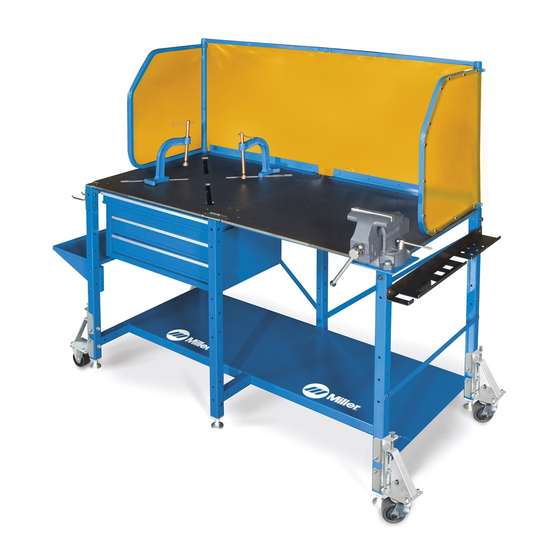
Miller ArcStation Manual del usuario - Página 33
Navegue en línea o descargue pdf Manual del usuario para Accesorios de soldadura Miller ArcStation. Miller ArcStation 44 páginas.
También para Miller ArcStation: Manual del usuario (20 páginas)

5-1. Installing Optional Tool Chest Under X-Pattern Top
1
CC
1
Tools Needed:
1/2 in.
hex bit 3/16 in.
SECTION 5 − ACCESSORIES
3
AA and ZZ
Side View
1
Dust Tray
Remove dust tray from rail slides as
follows:
Slide tray out.
Lift front of tray up.
Pull tray out from rail slides.
.
For X-pattern top, use rails that
came with the dust tray and
hardware that came with the
tool chest. Brackets included
with tool chest are not needed
with dust tray.
2
Dust Tray Rails
3
Tool Chest
Remove dust tray rails from weld-
ing table and retain the hardware.
Use four bolts CC that came with
the tool chest and install dust tray
rails to top of tool chest. Be sure that
2
rails are pushed in as close
together as possible.
Do not tighten bolts at this time.
Do not install dust tray at this time.
Raise tool chest/rail assembly into
position, rails should be to inside of
angle iron on subframes.
Use the retained bolts AA and
locknuts ZZ previously removed
and attach rails to welding table.
Tighten all hardware at this time.
Install dust tray into rail slides as
follows:
Tilt rear of tray down and lift front of
tray up.
Place flange on rear of tray behind
angle iron support.
Lower
front
approximately level.
Slide tray into position.
OM-244 997 Page 29
of
tray
until
