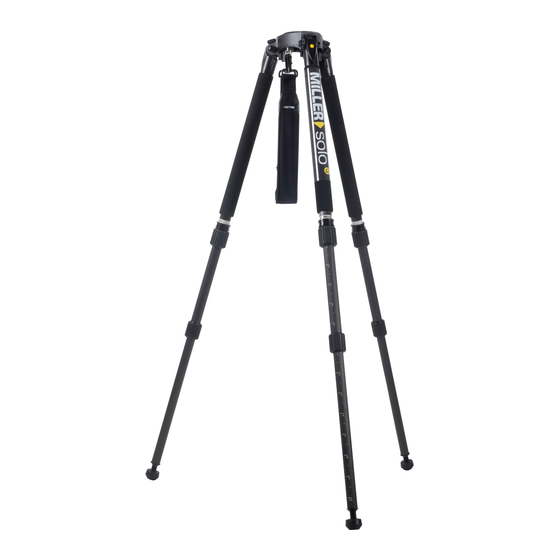
Miller Solo Rapid Lock 100 Manual del usuario - Página 5
Navegue en línea o descargue pdf Manual del usuario para Accesorios para cámaras Miller Solo Rapid Lock 100. Miller Solo Rapid Lock 100 8 páginas. Rapid lock tripod series, 2-stage tripod (alloy) & 3-stage tripod

Tripod Setup (cont)
Mid Position
Note: This refers to the mid leg
angle position, not necessarily the
height of the tripod.
The SOLO RAPID LOCK tripod has three
leg angle positions. The middle leg angle
position (Fig.7) is self-engaging after
closing leg from fully spread position
(Fig.6). The mid position is chosen for
optimum stability in the 50-130cm tripod
height range, but is not recommended if
the tripod is being used in a crowded
situation, due to the
wide diameter, or
footprint spread, of the
extended tripod.
Tripod Pull Down
1 Remove camera from fluid head.
Fig 5 Leg angle adjuster
2 Close the tripod legs so all are pointing
raised
3 Holding the bowl, lower tripod to its
4 Close legs together fully (Fig. 1) fit leg strap and return tripod to
Fig 6 Spread Position
straight down and disengage all
concentric locks.
shortest length and re-engage
concentric locks.
carry bag if finished shooting.
Fig 7 Middle leg
angle position
5
