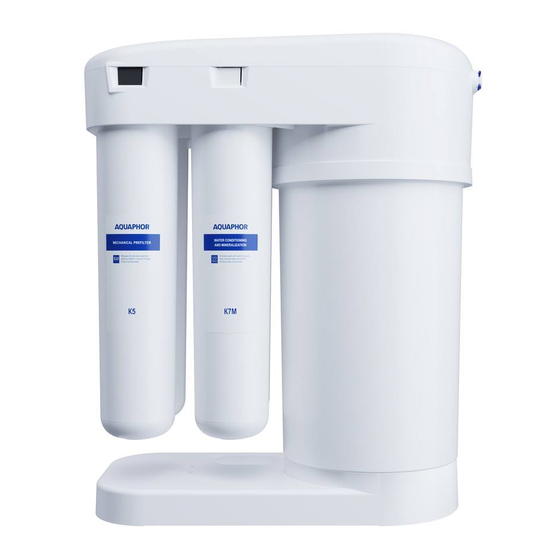
AQUAPHOR RO-101S EU Manual del usuario - Página 8
Navegue en línea o descargue pdf Manual del usuario para Sistemas de filtración de agua AQUAPHOR RO-101S EU. AQUAPHOR RO-101S EU 16 páginas. Reverse osmosis system

Connection node assembly
• Turn the water off at the cold water main.
• Open the kitchen faucet to discharge pressure
into the water line.
• Unscrew the nut from the flexible line cap,
leading to the faucet on the cold water main.
ATTENTION!
Residual water will be left inside
of the flexible JG tube after discharge of water.
When disconnecting the flexible line, please use
a 200 ml or similar size container to drain the
water left behind in the tube.
• Screw the cap nut off the connection node and
on the cold water main thread.
• Screw the cap nut off the flexible line, and then
on the connection node thread.
• Set the shutoff valve on the connection node
to the closed position and then make sure that
the connection is completely leak-proof by sup-
plying water to the cold water main.
• Connect JG tube (follow the instructions below
to correctly connect the JG tubes).
ATTENTION!
Make sure that the sealing O-Ring
is located correctly in its place and not damaged
during installation.
Figure 5. Connection node installation scheme
Shuto valve set
in closed position
Locking clip
Cold water main
Connection of JG tubes
Pull the locking clip (2) off the plastic plug (1).
Then install the previously wetted end of the
tube (3) into the fitting piece approx.15 mm up
to the stop. Next, put the locking clip (2) back.
8
Make sure that the tube (3) is tightened correctly:
the tube should not be pulled out by force greater
than 8-10 kgf.
Figure 6. Connection of JG tubes
Disconnection of JG tubes
Pull the locking clip (2) off the plastic plug (1),
then pull the tube (3) out by applying pressure
on the face of the connecting piece. To apply
pressure, use the tube disconnection key (4)
included in the water filter set.
Figure 7. Disconnection of JG tubes
Connection
node
Sealing
O-Ring
6. Clean water faucet
installation
• Drill the hole in the sink (table top) 12 mm
diameter;
• Put on the thread tail of the faucet (11) rubber
gasket (2), decorative stand (3), rubber gasket
(4) and insert the faucet into the hole in the sink;
2
1
3
2
1
4
3
