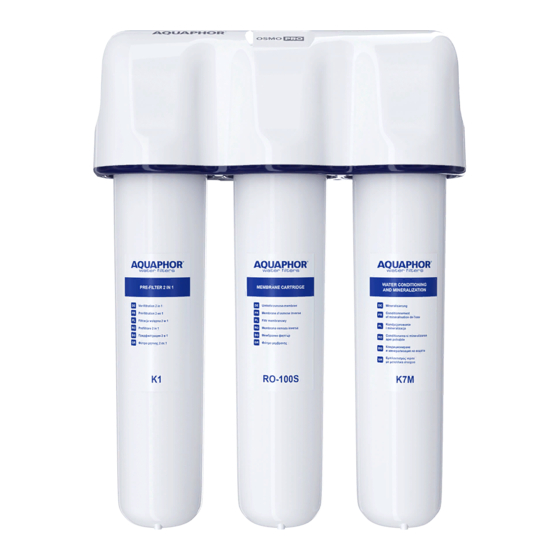
AQUAPHOR RO-312S PRO Manual de instrucciones - Página 9
Navegue en línea o descargue pdf Manual de instrucciones para Sistemas de filtración de agua AQUAPHOR RO-312S PRO. AQUAPHOR RO-312S PRO 17 páginas. Reverse osmosis system

Flushing RO-312S Pro
At the last stage of the preparation of premium
drinking water, the RO-312S Pro uses a natural
mineral that enriches purified water with use-
ful substances. However, since this mineral is
quite fragile, some dust may be formed during
transportation, which must be washed off when
the water purifier is first started.
ATTENTION! Before flushing, make sure that
the cartridges are correctly positioned. The po-
sitioning of the cartridges in the water purifier
is indicated on the installation diagram of the
water purifier.
• Open the inlet tap.
• Insert the tip (7) into the slot of the cutter (17),
holding it above the sink.
• Holding the tip, place the cutter in the sink, then
drain the water passing through the RO-312S
Pro within 10 minutes.
• Disconnect the tip from the cutter by pressing
the key located on the end of the cutter.
• Close the inlet tap.
• Instead of a flushing plug, install a membrane
cartridge in the middle slot.
• Open the inlet tap.
• Insert the tip into the slot of the cutter, holding
it above the sink.
• Holding the tip, put the cutter in the sink, then
drain the water from the water purifier for 1 hour.
• Disconnect the tip from the cutter by pressing
the key located on the end of the cutter.
• Ensure that the RO-312S Pro connections
are tight.
ATTENTION! The water that was obtained as
a result of washing is not intended for drinking.
Operation
of RO-312S PRO
For the first week of operation, check the RO-
312S Pro daily for leaks. In the first week of opera-
tion of the RO-312S Pro, when switching the au-
tomatic valve, noise may be observed associated
with the release of air from the internal cavities
of the water purifier. This is not a malfunction.
Storage Capacity Operation
When connecting the tip (7) for clean water to
the storage tank (18), water begins to flow into
it. After collecting water and raising the float,
which is located inside the cutter (17), the tip is
disconnected from the socket, the shut-off valve
is activated, and the water supply is stopped. If
you need to stop the collection of water in the
tank ahead of schedule, just press the button
located on the lid of the tank. At the end of the
set of water in the storage tank (lasts no more
than an hour), return the tip to the stand.
ATTENTION! Do not drop the storage tank.
ATTENTION! For proper operation of the RO-312S
Pro, it is not allowed to create a tube tension dur-
ing the collection of water in the storage tank.
ATTENTION! If the tube is improperly positioned,
the tip may automatically turn off and water
may spill.
Removing the lid
of the storage tank
Pull the cover up while holding the edge of the
shoulder (do not grab the reclining nose). Remove
the cover with the cutter.
9
