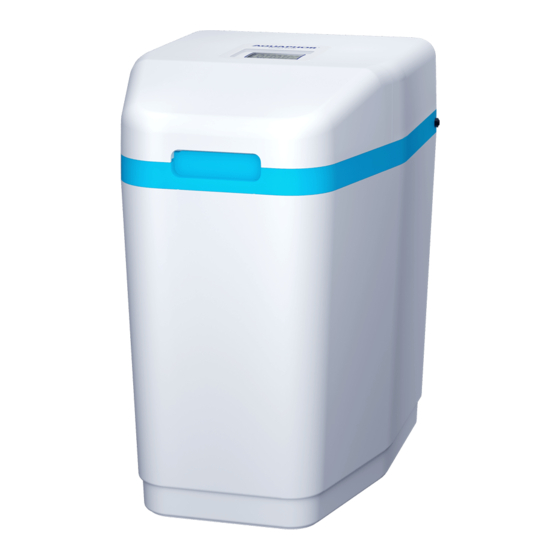
AQUAPHOR S550 P1 Manual de instrucciones - Página 12
Navegue en línea o descargue pdf Manual de instrucciones para Dispensador de agua AQUAPHOR S550 P1. AQUAPHOR S550 P1 20 páginas.

• power supply connector.
• Lay the power supply wire at the outlet of the wa-
ter lines. Connect the power supply to an outlet.
• Make sure the outlet to which the softener is con-
nected does not have an ON/OFF switch.
Step 8. Adjust the softener controller according to
the Controller Setup section.
Step 9. Flush the softener
• Pour 8 l of water into the brine tank.
• Make sure the softener is in filtration mode and the
water supply is turned on.
• Perform a forced regeneration. To do this, press and
hold the R button for about 5 seconds until the num-
bers 01 appear on the display and the regeneration
process starts.
• During the regeneration, which lasts 30–40 minutes,
the device will first take and then add water to the
brine tank to the desired level.
ATTENTION! The brine tank should only be filled with
water when the softener is started. After starting, top-
ping up water is carried out automatically.
Step 10. Load Salt into the Brine Tank
Load salt into the brine tank up to 25 kg. Use purified
tableted or granulated table salt (NaCl). Do not use these
two types of salt at the same time. Use only high-quality
tableted or granulated salt, such as AQUAPHOR. Poor
quality salt can cause a decrease in the efficiency of re-
generation or the failure of the softener.
NOTE: Always keep the salt level above the water level.
For convenience, when adding salt, fully load the tank.
After adding salt, including adding after salt is complete-
ly used up, wait at least two hours before starting regen-
eration. This is necessary for the formation of a saturated
saline solution.
Step 11. Complete the installation process
Make sure the bypass valve is in the "Service" position
(see fig. 1).
Make sure the water supply is turned on.
If there is an external bypass circuit, make sure the taps
are in the correct position (see fig. 5).
Turn on the power and water supply to the water heater
(if any). For gas water heaters, turn the gas valve to the
"Operation" position (see the instructions for your water
heater).
Open the nearest cold water faucet and run the softener
for 20 minutes or until about 270 liters water.
Make sure that the water consumption indicator on the
controller display is working – this indicates the water
consumption and the operation of the liter counter.
Replace the softener cover.
12
Controller setup
For the correct operation of the softener, it is necessary
to enter into the processor data on the content of hardness
salts, iron and manganese in the water.
To do this, it is necessary to calculate the total parameter,
which will include all these pollutants. This parameter is
called "compensated stiffness".
Generally, in water analysis, total hardness is expressed
in mg-eq / l.
ATTENTION! German (DH) and French (ºF) are differ
from mg-eq / l.
To calculate the "compensated hardness"
it is necessary:
• Multiply the number of mg-eq / l by 50.
• Add the concentrations of iron (mg/l) and manganese
(mg/l) and multiply the sum by 85.
• Add up both items.
EXAMPLE:
Total hardness = 6.84 mg-eq / l
Ferrous iron (dissolved) = 3 mg/l
Manganese = 1 mg/l
Compensated hardness = 6.84 × 50 + (3+1) × 85 = 682
Note. If the total hardness is presented in the analysis as
a concentration of CaCO
multiply the value by 50.
EXAMPLE:
General hardness = 342 mg/l CaCO
Ferrous iron (dissolved) = 3 mg/l
Manganese = 1 mg/l
Compensated hardness = 342 + (3+1) * 85 = 682
If you have any questions, please contact Aquaphor sup-
port.
Quick Setup / Basic Settings
Step 1. Set the hardness value
A. Click
. After approximately 4 seconds, the con-
troller will beep and the display will show ppm
B. Press
until the number on the display corre-
sponds to the required hardness to be compensated
(see section "Checking before installation").
C. Click
to save the settings and proceed to the
next step.
Step 2. Setting the current time
A. Press
until you set the current hour. Press
to save the setting and move on to setting the min-
utes.
B. Press
until you set the current minutes. Press
to save the setting and go to the home screen.
NOTE: The current time is shown in 24 hour format.
(mg/l), it is not necessary to
3
3
