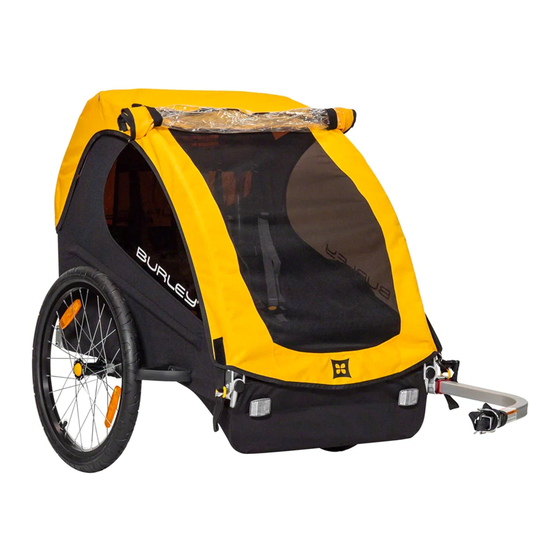
Burley Cub Manual de instrucciones y seguridad - Página 6
Navegue en línea o descargue pdf Manual de instrucciones y seguridad para Vehículo utilitario Burley Cub. Burley Cub 15 páginas. Child trailer
También para Burley Cub: Manual de instrucciones y seguridad (8 páginas), Manual de instrucciones y seguridad (20 páginas), Manual de instrucciones y seguridad (12 páginas)

Installing and Operating the Tongue
d'Lite
, Encore
, Solo
, Lady Bug
™
™
™
Tip the trailer onto its rear end. Slide the tongue through the LEFT front
tongue receptacle. Depress the safety button to allow it to slide back through
the rear tongue receptacle. Line up the rear hole on the tongue with the
hole in the rear tongue receptacle. Insert the pin through both holes. Once
inserted, rotate the pin's spring clip to engage the pin underneath the tongue
receptacle. Always check to ensure the tongue is properly installed before
using your trailer.
Never operate the trailer without the tongue retaining pin locked in
place. An unlocked tongue can loosen or detach, and cause accident
resulting in serious injury.
Cub
™
Slide the tongue through the two plastic tongue receptacles on the LEFT side
of the trailer until the end of the tongue is flush with the back edge of the
rear tongue receptacle.
Secure the tongue as follows:
1. Slide the retaining
pin in the rearward
receptacle through
the hole provided
in the tongue.
2. Secure it and lock
the pin by rotating it
toward the rear of the
trailer as shown.
3. Slip the retaining pin
though the forward hole
in the tongue and lock
in place. Refer to the
illustration showing the
locked position. Firmly
pull on the tongue to
ensure that it is secure.
10
B U R L E Y T R A I L E R O W N E R ' S I N S T R U C T I O N A N D S A F E T Y M A N U A L
™
WARNING
Front Tongue
Mount
Trailer Pin
Hole
Stroller Pin
Hole
Forward hole in tongue
Pin in
locked
position
IMPORTANT:
and the lip of the poly shell. It should never be completely removed from
the tongue receptacle. The tongue pin must be locked into place before
using the trailer. If the pin is not properly locked, the trailer could separate
from the bicycle, resulting in an accident or serious injury. The retaining
pin is a backup for the tongue pin. Under no circumstances should the
trailer be towed with only the retaining pin engaged.
Bee
™
Tip the trailer onto its back end. Slide the tongue onto the
pivot pin at the left front. Secure the tongue as follows:
Pin
1. Remove the hairpin cotter and
Rear Tongue
lock pin from the front tongue
Mount
receptacle, rotate the tongue up
into place, and snap it into the
two plastic tongue receptacles.
2. Push the lock pin fully into the
front tongue receptacle.
3. Rotate the lock pin and locate
the hole in it, between the
Button
receptacle and the trailer frame.
Anchor the lock pin by inserting
the hair pin cotter all the way
into the hole in the lock pin.
2
Never operate the trailer without the tongue lock pin and hairpin
1
cotter locked in place. An unlocked tongue can loosen or detach,
and cause accident, resulting in serious injury.
Retaining Pin
OPEN
The tongue pin is captured between the tongue receptacle
. Anchor Lock
Pin with
Hairpin Cotter
. Lock Pin and Hairpin
Cotter Locked in Place
(viewed from underside)
WARNING
B U R L E Y T R A I L E R O W N E R ' S I N S T R U C T I O N A N D S A F E T Y M A N U A L
CLOSED
1. Slide
Tongue
onto
Pivot Pin
2. Rotate Tongue
into Place
. Anchor Lock Pin
with Hairpin Cotter
11
