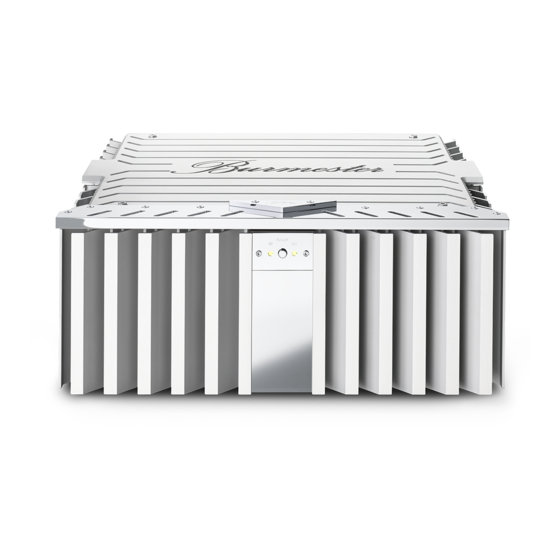
Burmester 911 MK 3 Manual del usuario - Página 6
Navegue en línea o descargue pdf Manual del usuario para Amplificador Burmester 911 MK 3. Burmester 911 MK 3 8 páginas.
OPERATING THE POWER AMP
AC terminal
Make sure that the AC mains switch (7) is set to OFF. Connect the AC power cord with the AC input (8)
and plug the cord into the wall outlet.
AC mains switch
The AC mains switch (7) on the rear panel switches power to the 911 MK 3 on and off. In the OFF
position the unit has been cut off from the power supply and the LEDs on the front panel are dark. In the
ON position the amplifier is in stand - by mode and the left STAND BY - LED (1) on the front panel is lit.
POWER - button
The POWER - button (2) on the front panel is used to switch the 911 MK 3 from stand - by into operational
mode or back into stand - by. In operational mode the STAND BY - LED (1) and the POWER LED (3)
are lit. In stand - by mode only the STAND BY - LED (1) lights up.
When the 911 MK 3 is switched into operational mode the monitoring circuitry checks all functions.
Therefore, it always takes a few seconds before the speaker outputs kick in.
HOOK - UP OPTIONS
STEREO mode
To use the 911 MK 3 as STEREO amp the connections are as follows:
(12)
(10)
(11)
MONO mode
To use the 911 MK 3 as MONO amp the connections are as follows
(see hook - up diagram for mono operation):
(12)
(10)
(11)
BI - AMPING
To use the 911 MK 3 in BI - AMPING operation the connections are as follows
(see hook - up diagram for bi - amping):
(12)
(10)
(11)
Please ask your Burmester dealer for advice if you are not sure whether you have hooked up
your 911 MK 3 correctly for the desired operating mode.
(4)
input, right channel
(6)
speaker output, positive, right channel (red binding post)
(5)
speaker output, negative, right channel
input, left channel
speaker output, positive, left channel (blue binding post)
speaker output, negative, left channel
(4)
MONO - ADAPTER (14), red marking
(6)
speaker output, positive (red binding post)
(5)
must not be connected
MONO - ADAPTER (14), blue marking
speaker output, negative (blue binding post)
must not be connected
(4)
BI - AMP - ADAPTER (15), red marking
(6)
speaker output, positive, for tweeter resp. mid-high range
(5)
speaker output, negative, for tweeter resp. mid-high range
BI - AMP- ADAPTER (15), blue marking
speaker output, positive, woofer
speaker output, negative, woofer
6