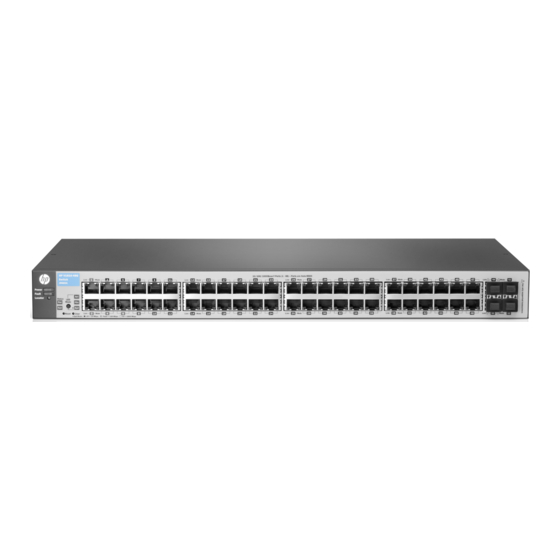
HP V1810-48G Manual de configuración rápida - Página 3
Navegue en línea o descargue pdf Manual de configuración rápida para Interruptor HP V1810-48G. HP V1810-48G 4 páginas. 1810 series
También para HP V1810-48G: Quickspecs (25 páginas)

Example: Initial Switch Configuration using Windows
1. Reconfigure the PC's IP address and Subnet Mask so that it can communicate with the switch.
a.
Click Start > Connect to > Show all connections.
Select and right-click Local Area Connection, then click Properties.
b.
c.
Scroll and select Internet Protocol (TCP/IP), then click Properties.
Note: Be sure to record all your PC's current IP settings to be able to restore them later.
d.
On the General tab, click Use the following IP address.
For IP address, enter an IP address in the same range as the switch's default IP address. For example, enter 192.168.2.12.
e.
For Subnet mask, enter 255.255.255.0, then click OK.
f.
g.
Click Close (or OK) to close the Local Area Connection Properties screen.
2. Open your Web browser on the PC, and enter the factory-default address, http://192.168.2.10, to access the switch's Web interface.
3. Click Log on to log onto the switch (by default, there is no password).
4. Click Network Setup > Get Connected and configure IP network settings on the switch for operation on your network.
Note: If you enable DHCP on the switch for automatic IP network configuration, the switch must be connected to the same network
as the DHCP server. After automatic IP configuration, you must determine the IP address assigned to the switch. To do this, you will
need to access your DHCP server files, or use LLDP (Link Layer Discovery Protocol) commands on a connected device (such as another
switch).
5. Click Maintenance > Save Configuration and save your settings to retain them when the switch is rebooted.
You are done with initial switch configuration. Disconnect the LAN cable.
Be sure to return your PC to its original network settings before connecting to your network.
Mini-GBIC/SFP Installation Notes
N o te
Use only genuine HP mini-GBIC/SFP transceivers supported by your switch. For supported transceivers, visit
www.hp.com/networking/support
■
■
■
When selecting a fiber SFP device, make sure it can function at a temperature that is not less than the recommended
maximum operational temperature of the product. Use only an approved Laser Class 1 SFP transceiver.
Use only genuine HP transceivers. Non-HP mini-GBIC/SFP transceivers are not supported. Use of genuine HP products ensures that
your network maintains optimal performance and reliability. Should you require additional transceivers, please contact an HP sales
representative or an authorized reseller.
Hot Swapping transceivers. The transceivers that you can install in your HP switch can be "hot swapped"— removed and installed after
the module is installed in the switch and receiving power. You should disconnect the network cables from the mini-GBIC/SFP transceivers
before hot-swapping them.
When you replace a transceiver with another of a different type, the switch may retain selected port-specific configuration settings that
were configured for the replaced unit. Be sure to validate or reconfigure port settings as required.
Connecting the transceivers to Devices with Fixed Configurations. When connecting a device to your switch port that contains a
transceiver, the speed and duplex settings of the switch port and the connected device must match; otherwise, the device may not link
properly — you may not get a link. For some older network devices, including some older HP devices, the default speed/duplex settings
may be predefined (for example, to 1000 Mbps/Full Duplex), or otherwise set differently from the default configuration of your switch port.
Because of these default speed/duplex considerations, you should make sure that devices connected to your mini-GBIC/SFP ports are
properly configured. At a minimum, make sure the configurations match.
In the first textbox, type J4858 (for 100-Mb and Gigabit information).
Select any of the products that display in the dropdown list.
Select Product support information. Then click on Manuals and find the Transceiver Support Matrix.
®
XP
:
3
