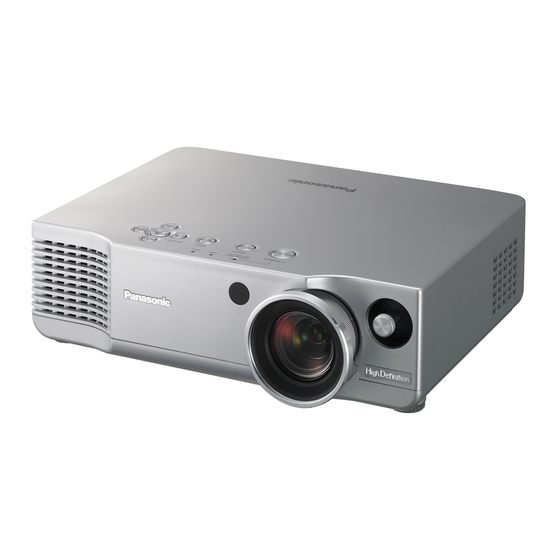
Panasonic PT-A900E Manual de instrucciones - Página 3
Navegue en línea o descargue pdf Manual de instrucciones para Proyector Panasonic PT-A900E. Panasonic PT-A900E 36 páginas.

IMPORTANT: THE MOULDED PLUG (U.K. only)
FOR YOUR SAFETY, PLEASE READ THE FOLLOWING TEXT
CAREFULLY.
This appliance is supplied with a moulded three pin mains plug for your
safety and convenience. A 13 amp fuse is fitted in this plug. Should the fuse
need to be replaced, please ensure that the replacement fuse has a rating of
13 amps and that it is approved by ASTA or BSI to BS1362.
Check for the ASTA mark
or the BSI mark
ASA
If the plug contains a removable fuse cover, you must ensure that it is refitted
when the fuse is replaced. If you lose the fuse cover, the plug must not be
used until a replacement cover is obtained. A replacement fuse cover can be
purchased from an Authorised Service Centre.
If the fitted moulded plug is unsuitable for the mains socket in your
home, then the fuse should be removed and the plug cut off and
disposed of safely. There is a danger of severe electrical shock if the
cut off plug is inserted into any 13 amp socket.
If a new plug is to be fitted, please observe the wiring code as shown below.
If in any doubt, please consult a qualified electrician.
WARNING: - THIS APPLIANCE MUST BE EARTHED.
IMPORTANT: - The wires in this mains lead are coloured in accordance
with the following code: -
Green-and-Yellow: Earth
Blue:
Brown:
As the colours of the wire in the mains lead of this appliance may not
correspond with the coloured markings identifying the terminals in your plug,
proceed as follows.
The wire which is coloured GREEN-AND-YELLOW must be connected
to the terminal in the plug which is marked with the letter E or by the
Earth symbol
or coloured GREEN or GREEN-AND-YELLOW.
The wire which is coloured BLUE must be connected to the terminal in
the plug which is marked with the letter N or coloured BLACK.
The wire which is coloured BROWN must be connected to the terminal
in the plug which is marked with the letter L or coloured RED.
How to replace the fuse: Open the fuse
compartment with a screwdriver and replace the
fuse.
4-E
NGLISH
on the body of the fuse.
Neutral
Live
FUSE
Contents
Preparation
safety .........................................6
Accessories ...............................10
Before use ..................................11
part...........................................13
Getting started
Setting-up...................................18
position, Projection distances,
function
Connections...............................22
compatible with HDMI,
control unit..............................25
Basic operation
Turning on the power................26
Turning off the power................28
Useful functions
Setting the aspect ratio.............30
Selecting the picture mode.......33
Turning on the button lights.....33
settings....................................34
Management function ............36
Adjustments and settings
On-screen menus ......................40
Menu screens, Menu operation
guide, Returning a setting to the
Adjusting the picture.................44
BRIGHT, COLOUR, TINT,
SHARPNESS, COLOUR TEMP.,
DYNAMIC IRIS, Noise
Reduction(NR), CINEMA REALITY,
SIGNAL MODE, Projecting sRGB-
Adjusting the position...............48
Horizontal position, Vertical position,
DOT CLOCK, CLOCK PHASE,
ASPECT, WSS, OVER SCAN,
KEYSTONE, AUTO SETUP
Option settings ..........................51
OSD, OSD DESIGN, OSD
POSITION, AUTO SEARCH, BACK
COLOUR, STARTUP LOGO,
DESK/CEILING, FRONT/REAR,
OFF TIMER, FAN CONTROL,
LAMP POWER, LAMP RUNTIME
Care and maintenance
the air filter ..............................56
Replacing the lamp unit ............57
Before calling for service..........60
Cleaning and maintenance .......61
Others
Specifications ............................62
Appendix ....................................64
arrangement of the "COLOUR
MANAGEMENT" menu, Using the
SERIAL connector, Projection
dimensions calculation methods
Dimensions ................................69
E
-5
NGLISH
