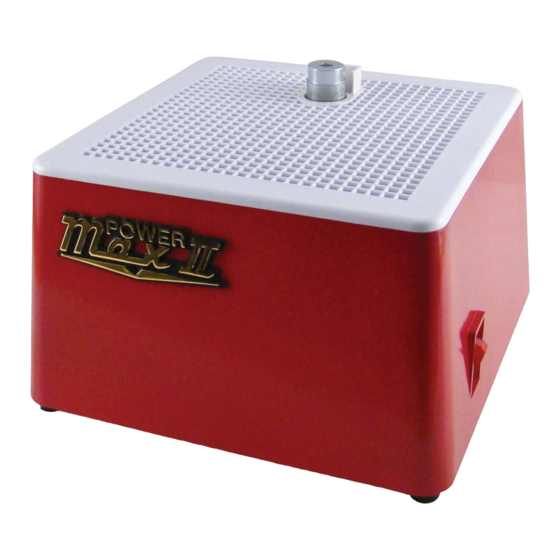
Diamond Tech Power Max II Manual de instrucciones - Página 3
Navegue en línea o descargue pdf Manual de instrucciones para Amoladora Diamond Tech Power Max II. Diamond Tech Power Max II 6 páginas. Diamond tech power max ii glass grinder operations manual

3) Secure the bit to the shaft by turning the set screw
clockwise with the hex wrench (Fig. 2).
IMPORTANT: Always secure the bit to the flat side of the
motor shaft. Tightening the bit to the rounded side can scar
the shaft and prevent bit removal!
B. Sponge Installation
The technologically advanced Super Sponge
over 10 times its weight in water. Its superior wicking ability
insures a sufficient water supply to protect the bit and keep the
glass cool.
1) Wet the Super Sponge ™ by immersing it in water until
soft and pliable.
2) Fill the water reservoir (Fig.3) about 3/4 of the way to the
top. You may add special grinding lubricant if desired.
3) Insert the sponge between the sponge holder on the
work surface and grinder bit so that the bottom of
the sponge is in contact with the coolant/water in the
reservoir and the top of the sponge is in contact with
the diamond surface of the bit (sponge may be trimmed
to ensure proper fit).
4) The wet sponge should remain in contact with the bit
while grinding (Fig.4). Periodically rinse out the sponge
to remove grinding residue. When the sponge becomes
worn, replace it.
5) Should the sponge become dry during periods of
non use, simply immerse in water and- reinstall.
6) The Power Max II comes with two work surface adaptors
designed to allow the use of a 1" and 3/4" bit (Fig.5).
After the surface grid has been installed, place the grid
surface adaptor into the grid (Fig.6). Be sure to use the
adaptor that matches the bit you are using.
7) Soak the sponge in water, then position it into the grid
surface adaptor located behind the water reservoir.
DELUXE MODELS ONLY
1) Use the Universal Face Shield ™ by simply removing
the paper covering from the shield (Fig.7), put it on the
frame, then slide the base of the frame underneath the
grinder body (Fig.8).
2) Deluxe models also come with an Easy-On ™ Foot
Switch. This switch allows you to easily turn the grinder
on or off with a simple tap of the toe. To use, plug
grinder directly into the foot switch, then plug foot switch
into any outlet. Turn grinder to the ON position.
3) The 3/4" bit is useful in grinding smaller inside curves.
POWER MAX II INSTRUCTION MANUAL
PAGE 3 -
can absorb
™
Fig.2
Fig.3
Fig.4
Fig.5
"
"
3/4
1
adaptor
adaptor
Fig.6
Fig.6
Fig.7
