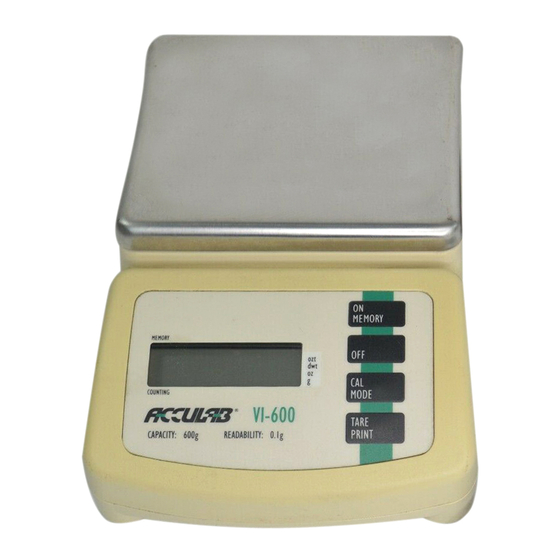
Acculab VI-10kg Manual de instrucciones - Página 15
Navegue en línea o descargue pdf Manual de instrucciones para Scales Acculab VI-10kg. Acculab VI-10kg 20 páginas.

VIR-Series RS-232 Bi-Directional Serial Communications
All VIR-Series balances are equipped with a standard 9-pin male, bi-directional RS-232 interface located at the rear of the
balance. The RS-232 communication parameters are configurable with respect to baud rate, parity, # of stop bits, and hand-
shake. A seven-bit ASCII data stream is sent from the balance to an appropriate connected computer or printer via the prop-
er data interface cable. Correctly configured cables can be purchased from Acculab, or, can be made by the user. See the
table "Data Interface Cable PIN Configuration For VIR-Series Balances".
User Configurable Balance Parameters
The table "User Configurable Internal Menu Codes" shows the balance parameters that are user configurable. Changing
configurable internal balance parameters requires accessing the balance internal menu system via the keypad. Navigating
the menu system is performed as follows:
1. To gain access to the balance internal menu system, start with the balance turned off. Briefly press the "ON/MEMORY"
key and immediately (and briefly) press the "TARE/PRINT" key while all LCD segments are illuminated. You should see a
"1" toward the left side of the LCD. This is the "left" segment value.
2. To increment the displayed digit within any segment, briefly press the "TARE/PRINT" key repeatedly until you reach your
target value.
3. To switch from one code segment to another, IE. from the left to center digit, center to right digit, or right to left digit, briefly
press the "CAL/MODE" key. Increment each digit segment by the method explained in #2, above.
4. When switching from the center to right segment, the number displayed is the setting that is currently selected - marked by
a small right facing arrow
5. To select a new value, increment the third segment (#2) until you reach the new desired value. To lock in this new value,
press and hold the "CAL/MODE" key until the small right facing arrow
lower right side of the display.
6. If you need to move on and change other internal values, do so by repeating steps 2-5 above.
7. To finalize and save all revised parameter settings, press and hold the "TARE/PRINT" key until the balance resets. All your
new settings are now balance defaults at startup.
Note: To reset the balance to all its factory default parameters, specify the menu code "9 - 1" and invoke step #7, above.
Printing To A Printer Or Computer
Printing with VIR-Series balances simply means that the displayed LCD contents are sent out the 9-pin RS-232 port to either
a connected printer or computer. To successfully print the following conditions must exist:
1. Attach the balance to a printer or computer using the appropriate data interface cable. The correct cable must be used to
connect the two devices together. Correctly configured cables can be purchased from Acculab, or, can be made by the
user. See the table "Data Interface Cable PIN Configuration For VIR-Series Balances".
2. The RS-232 settings on both the balance and printer (or computer) must be the same. Both devices must be set to the
same number of data bits ("7", not configurable), baud rate, parity, stop bits and handshake.
3. If the balance is set to manual print (default), press and hold the "TARE/PRINT" key until an audible beep is heard. The
LCD contents will be sent out the RS-232 port to the attached device.
page 14
that points to the "g" indicator on the lower right side of the display.
appears and points to the "g" indicator on the
TECHNICAL
APPENDICES
