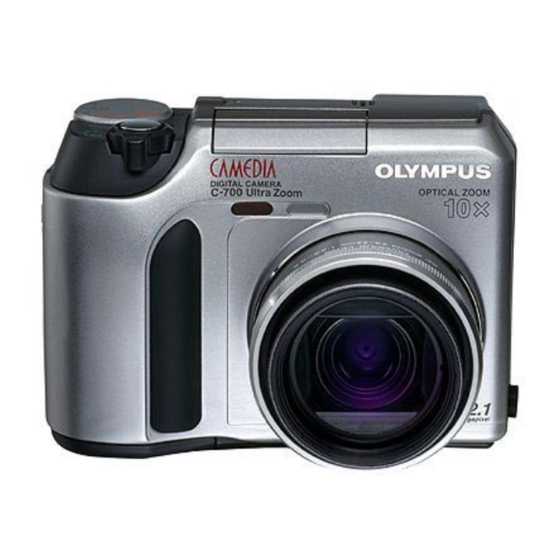
Olympus C-700 - CAMEDIA Ultra Zoom Manual de bolsillo - Página 4
Navegue en línea o descargue pdf Manual de bolsillo para Cámara digital Olympus C-700 - CAMEDIA Ultra Zoom. Olympus C-700 - CAMEDIA Ultra Zoom 17 páginas. Olympus camedia c-700 ultra zoom: quick start
También para Olympus C-700 - CAMEDIA Ultra Zoom: Manual de bolsillo (2 páginas)

7
Flash/Protect selects flash modes when the flash is popped
up in shooting modes (page 82) and protects images in
playback mode (page 14).
Power Switch turns the camera on and off (page 8).
AEL/Custom/Rotation locks exposure (page 40), sets Multi
Metering (page 41), and executes the custom function you
assign (page 103) in shooting mode. Rotates an image 90-
degrees counterclockwise each time it's pressed in playback
mode (page 14).
Arrow pad, with four arrows, moves the highlight through
menu commands (page 12), and selects shutter and aper-
ture speeds (pages 27 and 29), focus distances (page 51),
and exposure compensation settings (page 40).
OK/Menu in the center of the arrow pad displays and
hides the menu and confirms menu choices (page 12).
Activates manual focus (page 51).
Monitor button turns the monitor on and off.
U
M
SING
ENUS
To turn the monitor on and off, press the Monitor button
on the back of the camera.
To display the top menu in any mode, press OK/Menu.
(You can only display the menu in playback mode if there is
at least one image stored on the flash card.)
To select a choice from the top menu, press the indicated
arrow on the arrow pad.
To select a tabbed page on the Mode menu, press the left
arrow on the arrow pad to display the tab name in green (if
it isn't already green), press the down or up arrow to select
another tab, then press the right arrow to activate the menu
listing.
To highlight a menu command press the down or up
arrow on the arrow pad to move the green frame which
indicates the current menu choice which is also displayed
in green. (The only exception is CARD SETUP which is
displayed in red and used to format the SmartMedia card.)
To move between menu pages when there is more than
one, highlight the first or last item on the current menu and
press the up or down arrow on the arrow pad. A slider bar
S
C
://
HORT
OURSES HTTP
WWW
.
.
SHORTCOURSES
COM
8
just to the right of the tab names indicates where you
currently are in the menu listing.
To display a highlighted command's choices ( a right-
pointing green arrowhead indicates that there are choices),
press the right arrow on the arrow pad.
To select a highlighted choice, press the up or down arrow
on the arrow pad to highlight it with the green frame and
then press OK/Menu. (You can also press the left arrow on
the arrow pad). The camera beeps, list of choices disap-
pears, and the new setting is displayed to the right of the
command name. A few commands display a second menu
that you operate just like the first.
To hide the menu, press OK/Menu as many times as
necessary.
C
A
HANGING THE
LL
1. With the Mode dial set to any mode other than Auto, press
OK/Menu to display the top menu, then press the right
arrow on the arrow pad to display the Mode menu.
2. With the CAMERA tab highlighted, press the down arrow
to highlight the SETUP tab, then press the right arrow to
activate the menu.
3. With the ALL RESET command highlighted, press the right
arrow on the arrow pad to list your choices:
To save settings when you turn off the camera, press the
up or down arrow to select OFF, then OK/Menu to confirm
your selection.
To reset settings when you turn off the camera, press the
up or down arrow to select ON (the default), then OK/
Menu to confirm your selection.
To reset some but not all settings when you turn off the
camera, use the CUSTOM choice described on pages 103–
104.
4. Press OK/Menu once to confirm your choice, then again to
hide the menu.
C
S
HANGING
1. With the Mode dial set to P or A/S/M, press OK/Menu to
display the top menu, then press the right arrow on the
arrow pad to display the Mode menu.
© C
2001
OPYRIGHT
BY
R
C
ESET
OMMAND
HORTCUTS
D
P. C
ENNIS
URTIN
