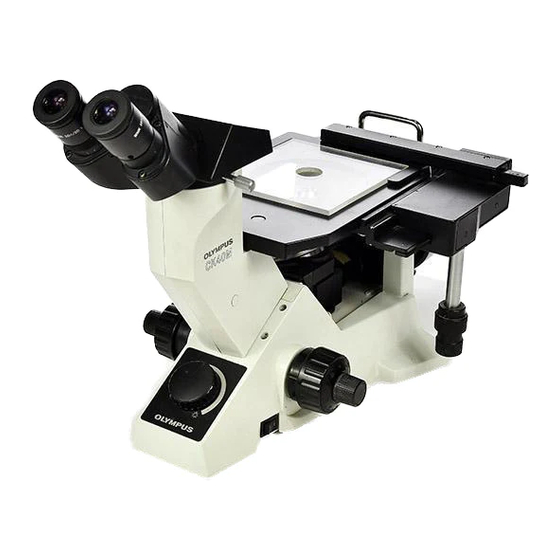
Olympus CK40M FRAME Manual de reparación - Página 17
Navegue en línea o descargue pdf Manual de reparación para Microscopio Olympus CK40M FRAME. Olympus CK40M FRAME 38 páginas. Compact inverted metallurgical microscope

CK40M
No.
Parts name
•
PLATE (2 pcs.)
‚
FINE ADJ. KNOB
ƒ
FINE ADJ. KNOB
ASS'Y
„
COARSE ADJ.
KNOB
...
SPRING WASHER
†
FINE SHAFT
MOUNT ASS'Y
‡
COARSE ADJ.
KNOB ASS'Y
ˆ
WASHER
‰
FINE SHAFT
MOUNT
Š
WASHER
SHAFT MOUNT
11
ASS'Y
12
WASHER
13
SPRING WASHER
14
CD-SCREW
15
COARSE ADJ.
KNOB
16
PLATE
17
GEAR
18
GEAR
19
GEAR
20
SHAFT MOUNT
21
TENSION KNOB
22
MOUNT
23
NUT
24
PINION MOUNT
25
PINION ASS'Y
26
SHAFT
27
GEAR
B. DISASSEMBLY AND ASSEMBLY PROCEDURES
Screw
ABS3X8SA (*1) 2 pcs.
CWK3X6SA (*2) 3 pcs.
ACU3X4SA (*3) 2 pcs.
ACU3X6SA (*4) 2 pcs.
CWK2.6X6SA (*5) 3 pcs.
CUK2.6X5SA (*6) 1 pc.
CSK2.6X6SA (*7) 2 pcs.
B1/16UO (*8) 30 pcs.
B1/16UO (*9) 30 pcs.
B-10
Grease
Adhesive
OT1131
OT2008
OT2008
OT1131
OT2008
OT2008
OT2008
OT2006
OT1983
OT2012
OT2012
OT2012
OT3111
1. OT2012
2. OT2006
OT2012
OT1131
Remarks
Apply adhesive to the screw
thread.
Apply grease to the shaft.
Selective parts
Just loosen the screws.
Apply adhesive to the screw
thread.
Apply grease to the hole to insert
the shaft.
Apply grease to the groove and
the entire circumference.
Apply adhesive to the screw
thread.
1. Apply grease to the surface
on which the ball is arranged.
2. Apply grease to the screw
thread.
Apply grease to the surface on
which the ball is arranged.
Apply adhesive to the screw
thread.
Mount in the correct direction.
(The bevelled part is on the shaft
side.)
