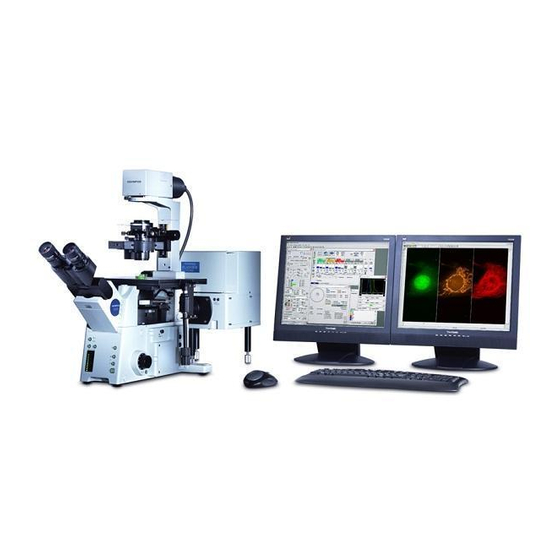
Olympus Fluoview FV1000 Manual del usuario - Página 3
Navegue en línea o descargue pdf Manual del usuario para Microscopio Olympus Fluoview FV1000. Olympus Fluoview FV1000 9 páginas. Confocal microscope
También para Olympus Fluoview FV1000: Visión general (28 páginas), Manual del usuario (42 páginas), Instrucciones breves (7 páginas), Instrucciones breves (7 páginas), Manuallines (3 páginas)

Olympus FV1000 User guide
C. Viewing with Transmitted or Epifluorescence Light
Before scanning the sample with laser light, look at
the sample and find the region of interest first with
either transmitted or fluorescent light.
Click on transmitted light button
light viewing or on epifluorescence light button
fluorescence viewing (Before click on the light button
you will used, click off the pressed button first).
1!
Turn the filter wheel
light viewing, or to #3 (Green NIBA), 4 (Red WIG), or
5 (DAPI) for fluorescent light viewing. Open the
1@
shutter
.
M
AKE SURE THE SLIDE AND COVERGLASS ARE CLEAN AND SEALED
the slide on the microscope stage. Focus onto the sample
1#
with the focus knob
(fast focusing) on the remote controller (Note: the focus knob on the microscope doesn't work if the remote
controller is used). The extent (fine or coarse) of movement by focus knob
1%
pressing F/C button
1^
Press Esc button
to move the objective completely away from the sample and press again to bring the
objective to the original position.
Adjust the transmitted light level with the lamp controller
When you are ready for laser scanning, turn the filter wheel
j
for transmitted
to #6 (DICT) for transmitted
(fine adjustment) or focus buttons
.
j
1)
1)
for
1^
1%
. Place
1$
1&
on the Image Acquisition control window.
1!
to #1 position (Laser Scanning label).
August 3, 2011
Folder/File
Explorer
Data manager: displays
metadata containing
acquisition parameters.
1!
1$
1#
1#
can be selected alternatively by
1@
1&
