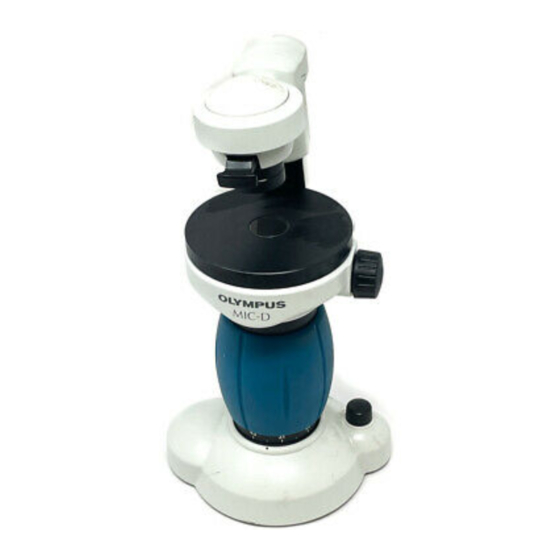
Olympus MIC-D Manual de inicio rápido - Página 9
Navegue en línea o descargue pdf Manual de inicio rápido para Microscopio Olympus MIC-D. Olympus MIC-D 28 páginas. Digital microscope
También para Olympus MIC-D: Manual de reparación (43 páginas)

7
MIC-D Basic Controls
Let's start by getting familiar with the basic hardware
controls.
Keep an
eye on the Live Image Window as you manipulate the MIC-D
controls.
Make sure that the Light Diffuser is pushed in, the Illumination Arm is in
the vertical position and the lamp head is rotated fully
clockwise.
Turn
the MIC-D's light source on and increase the light intensity by turning the
control clockwise, about one half as far as it will
go.
The MIC-D will
automatically make adjustments to the light intensity after it is initially set.
Turn the Optical Zoom Control to a minimum setting. The Optical Zoom
Control enables the user to physically adjust the position of the
microscope's lens to obtain magnification powers from 22x to 255x!
Bring the specimen into focus in the Live Image Window by rotating the
Focus Control Knob. Make any final adjustments to the light intensity.
Notice that the Gliding Stage Moves freely in any direction
.
Moving the
Gliding Stage instead of the specimen or sample will allow you to scroll
the image smoothly, even at high magnification
.
When you have found
an interesting
detail,
center it in the Live Image Window and zoom in.
Continue to make adjustments to the focus as
needed.
