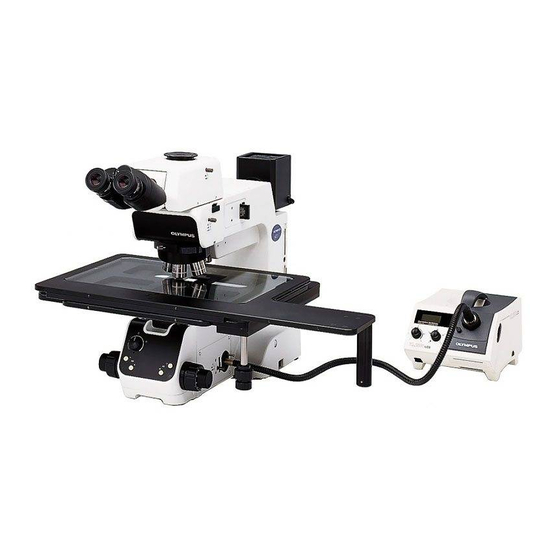
Olympus MX61 Manual de montaje - Página 27
Navegue en línea o descargue pdf Manual de montaje para Microscopio Olympus MX61. Olympus MX61 49 páginas. 200mm/300mm compatible semiconductor/fpd inspection microscopes

2
(Optional) Light Path Setup
}If it is required to mount a reflected light filter, mount it immediately after the following operation. (See next section.)
1. Loosen the clamping screws on the top cover @ using the Allen screwdriver (2 mm), and remove the top cover.
2. Turn the light path selector knob ² counterclockwise to remove it.
(This knob should be retained by the user because it will be reused when restoring the light path switching stroke to the
original setting.)
3. Using the Allen wrench (3 mm), remove the four clamping screws (AB4 x 16 ) | of the observation light path unit ³, take
out the unit ³ and place it upside down.
4. Loosen the mirror unit clamping screw ƒ using the Allen screwdriver, insert the desired mirror unit ... into the mount
dovetail (so that the product name on the side of the unit is upside down), and tighten the clamping screw ƒ.
5. Using the Allen wrench (3 mm), remove the screw † limiting the light path selection stroke.
(This screw should be retained by the user because it will be reused when restoring the light path switching stroke to the
original setting.)
6. Attach and clamp the observation light path unit ³ in the original position, and also clamp the top cover @.
# To clamp the observation light path unit ³, use the Allen wrench (3 mm) because this enables surer clamping
than the Allen screwdriver.
7. Screw the provided longer light path selector knob firmly into the position for the knob ².
3
Reflected Neutral Density Filter (ND 0.5)
}The standard filter is ND 0.5, but a ND 3 or ND 6 filter can be mounted depending on the reflecting conditions of the
specimen.
1. Perform the same operation till step 3 in the procedure for section
³
@
²
...
ƒ
|
†
³
2. Remove the two screws ² clamping the filter frame @ using a Phillips
precision screwdriver and remove the filter frame @.
3. Insert the filter ³ into the filter holding slit (long slit) of the filter frame.
}The filter frame slightly deforms outward, but this is normal.
4. Attach and clamp the filter frame @ in the original position.
@
|
²
2
.
MX61/MX61L
24
