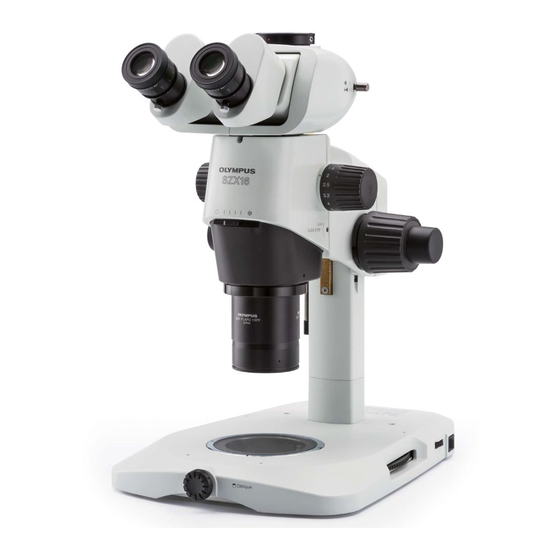
Olympus SZX16 Manual de instrucciones - Página 13
Navegue en línea o descargue pdf Manual de instrucciones para Microscopio Olympus SZX16. Olympus SZX16 28 páginas. Research high-class stereo microscope
También para Olympus SZX16: Visión general (24 páginas), Manual de instrucciones (36 páginas), Manual de instrucciones (40 páginas)

@
²
|
6
Fig. 8
@
³
Fig. 9
3
Mounting the Zoom Microscope Body
1. Using the Allen screwdriver, loosen the clamping screws ² of the
microscope mount adapter @ and pull out the adapter in the direction of
the arrow. (Fig. 8)
2. Loosen the clamping screw ³ on the microscope body using the Allen
screwdriver, and attach the adapter @ in that position. (Fig. 9)
3. The screw | of the interlocking section of the vertical fluorescence
illuminator is tightened when shipped from the factory (interlocking
disengagement conditoin). By way of precaution, use the Allen screwdriver
to tighten the screw | (by turning it clockwise) fully until it will not move
any more.
4. Hold the microscope body with both hands, insert it into the adapter @
all the way until it stops, and then tighten the clamping screw ² firmly.
5. Using the Allen screwdriver, loosen the screw | of the interlocking section
(by turning the screw counterclockwise) fully until the screw will not move
any more.
6. Gently rotate the zooming knob 5 all over the magnification scale and
repeat reciprocations for a few times.
If the zooming mechanism of the microscope body and the illuminator
system are coupled correctly, the zooming dial 6 on the illuminator system
should rotate according to the rotation of the zooming knob 5 on the
microscope body.
If the Zooming Dial 6 Is Not Interlocked with the Zooming Knob
5
The zooming dial 6 is positioned at an extreme position. Rotate the dial
6 away from the extremity and repeat step 6) again.
# When the zooming dial 6 is interlocked with the zooming knob 5,
do not turn the zoom dial 6 manually.
Caution When Removing the Microscope Body
First perform the operation in step 3) above to disengage interlocking,
confirm that the zooming dial 6 of the illuminator system is no longer
interlocked with the movement of the zooming knob 5, and perform the
operations in steps 4), 2) and 1) in this order.
About Highlight Zoom Illumination
The zoom on the illumination side can be adjusted during observation,
independent of the zoom on the microscope body side, by performing
the operation in step 3) above to disengage interlocking and turning the
zooming dial 6 manually.
This adjustment makes the illuminated range concentrate on the center
of the field of view to achieve brighter observation.
SZX16 REFLECTED FLUORESCENCE SYSTEM
(Figs. 8 & 9)
10
