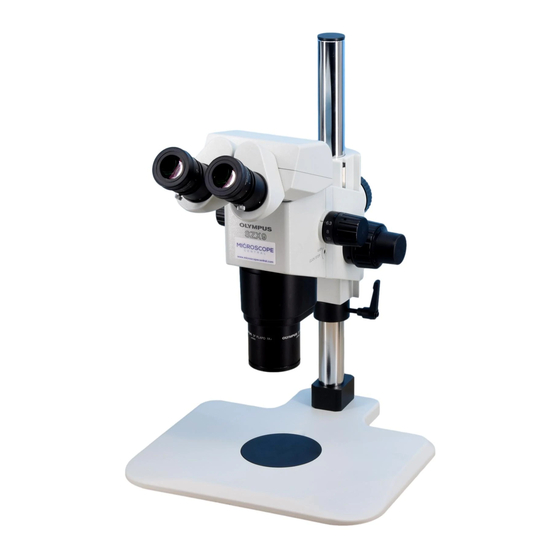
Olympus SZX9 Manual de instrucciones - Página 14
Navegue en línea o descargue pdf Manual de instrucciones para Microscopio Olympus SZX9. Olympus SZX9 34 páginas. Research stereomicroscope system

Fig. 16
When cap is
attached
WD 10mm
2mm
Non-covered specimen
Water or glass
Fig. 17
Fig. 18
|
ƒ
...
Specimen
Fig. 19
4
Magnification Indicator Ring
}Every objective other than the 1X objective is provided with an observa-
tion magnification* indicator ring.
²
* This refers to the total magnification when the 10X eyepiece is used.
}When the revolving nosepiece (SZX-2RE) is used, the total observation
magnifications when two objectives are switched can be read directly by
mounting these rings on the left and right zooming knobs.
1. Hold the magnification indicator ring @ in an orientation allowing correct
magnification reading from the front of the microscope, widen the ring
@
and mount onto the base of the left zooming knob ².
2. Rotate the magnification indicator ring gently until it stops at the speci-
fied position.
# A magnification indicator ring can also be mounted on the right
zooming knob in the same way as above, but this makes the total
observation magnification when the 1X objective is used unread-
able.
Using the Auxiliary Objective
5
(SZX-AL20X)
}This is a 2.5X auxiliary objective for exclusive use with the DFPLAPO1XPF
objective. It is effective for non-covered specimen observation when the
cap is attached to the tip and for observation through a 2 mm-thick water
or glass layer when the cap is removed. (Fig. 17)
# The recommended zoom magnifications for exhibiting high per-form-
WD 7mm
ance are the higher magnifications from 4X to 9X (i.e. total magnifi-
cations* of 100X to 225X). It is not advisable to use magnifications
lower than 4X. If the zoom magnification is lower than 2X, part of the
image will be obscured.
* Zoom magnification (4X to 9X) X Auxiliary objective (2.5X) X Eyepiece
(10X)
Removing the Cap
Hold the rotary ring @ and rotate the fixing ring ² in the direction of the
@
arrow to remove the cap. (Fig. 18)
Parfocal Correction Ring
²
}This is convenient when using a parfocal objective (PF) with the SZX-2RE
revolving nosepiece ³ and the SZX-AL20X. (Fig. 19)
· Attach the provided parfocal correction ring | to the DFPLAPO1XPF ƒ
by screwing in, then attach the SZX-AL20X .... (Fig. 19)
³
140mm
SZX
(Fig. 16)
(Figs. 17 - 19)
10
