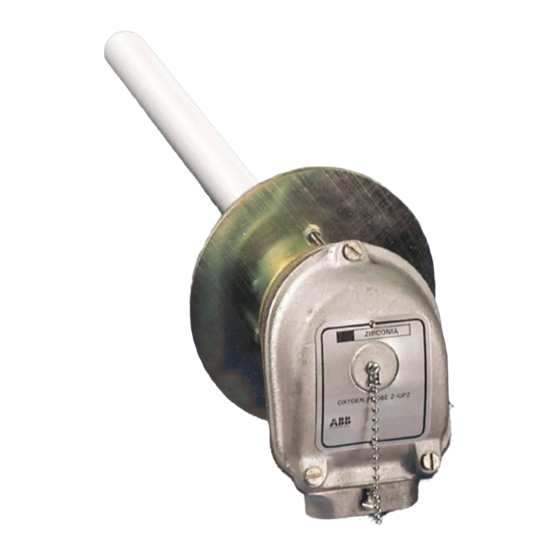
ABB ZGP2 Series Manual de instrucciones - Página 4
Navegue en línea o descargue pdf Manual de instrucciones para Equipamiento industrial ABB ZGP2 Series. ABB ZGP2 Series 16 páginas. High temperature zirconia oxygen probe

2 PREPARATION
2.1 Unpacking
Warning. The probe contains refractory ceramic
fibres. Inhalation of fibre or dust particles should be
avoided. If the probe is dismantled or damaged in service,
the materials of construction are NOT classified as
Hazardous Waste and may be disposed of at tipping sites
for Industrial waste.
Caution. The probe is very fragile. Unpack and
handle with care.
Each probe is despatched with its components individually
placed within a common pack. Retain this pack to facilitate
return of the probe to the manufacturer if necessary. Remove
the probe from its packing as follows:
a) Place the polystyrene pack, top uppermost, on a flat
surface and cut the tapes holding the two halves together.
b) Carefully lift the top half of the pack, to gain access to the
probe components which are individually located within the
bottom half.
c) When removing the components from the pack take great
care to support the terminal head and not to twist or bend
the electrode assembly attached to it.
d) Re-assemble the packing for future use.
✶
Note. If for any reason a non-standard sheath is
fitted adjust the diameter of the wadding at the end of the
probe to allow a snug fit.
To reduce its diameter the wadding may be compressed
slightly.
To increase its diameter, apply slight end pressure on the
wire bonding at both ends of the wadding. Mould the
wadding by hand to ensure a light push fit into the sheath.
Z
G
P
2
i Z
c r
o
n
a i
O
x
y
g
e
n
P
n I
s
e
t r
o i
n
e l
n
g
h t
T
h
r e
m
o
c
o
u
p
e l
S
h
e
a
h t
M
o
u
t n
n i
g
C
o
n
n
e
t c
r o
H
e
a
d
2
o r
b
e
6
0
0
m
m
1
0
0
0
m
m
S
p
e
c
l a i
P
/ t
t P
1
3
%
N
C i
/ r
i N
l A
B
S
p
e
c
l a i
A
u l
m
n i
o
u
s
n I
c
o
o l
y
8
0
0
S
p
e
c
l a i
F
a l
n
g
e
S
a t
n
d
a
d r
T
w
n i
G
a l
n
d
Table 2.1 Checking the Code Number
2.2 Checking the Code Number
Ensure that the correct equipment is being installed – check
the code number on the probe against Table 2.1 below. Code
number labels are fitted inside the probe head.
2.3 Assembling the Probe – Fig. 2.1
Caution. Take care to avoid damage to the probe
when fitting the sheath assembly.
1 Drill the fixing flange to suit the local fixing requirements.
2 Push the three long countersunk-head screws through the
fixing flange and secure them in position with the three lock
nuts.
3 Position the clamp ring over the boss on the probe head,
ensuring correct orientation of the ring's centre taper.
4 Position the sealing ring over the boss, ensuring that it
locates correctly in the centre taper.
5 Carefully insert the probe into the ceramic sheath ensuring
that the wadding at the probe end is not damaged and that
the filter washer is in position at the end of the sheath.
6 Secure the sheath to the boss with the three cheesehead
screws.
7 Slide the fixing flange over the sheath, ensuring that it is
seated over the locating step.
8 Locate the clamp ring over the three screws on the flange
2 and secure using three nuts. Tighten the nuts down
equally so that the fixing flange is pulled tightly against the
locating step on the sheath and the sealing ring is
compressed until the adjacent faces of the clamp ring and
sheath are 1 to 1.5mm apart. Use a 1mm drill or shim to set
the gap correctly.
R
h
B
S
4
9
3
7
t P
3
T
y
p
e
R
S
4
9
3
7
t P
4
T
y
p
e
K
P
o
c r
e
a l
n i
s (
a t
n
d
r a
) d
T
y
p
e
C
9
5
Z
G
P
2
/ X X X X X
1
2
9
1
2
9
1
2
9
1
0
1
