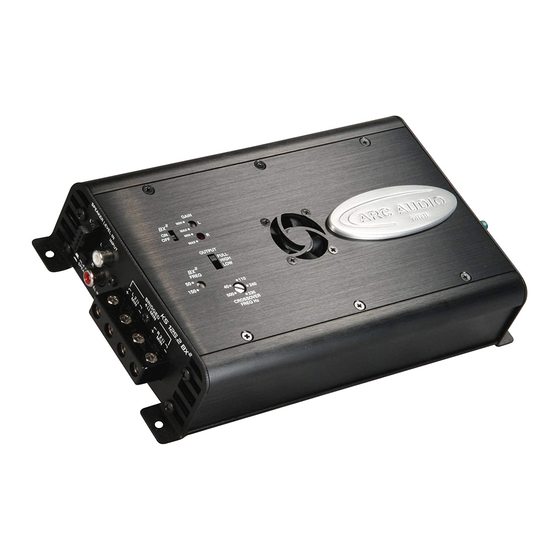
ARC Audio KS125.2 MINI Manual de instrucciones de instalación - Página 5
Navegue en línea o descargue pdf Manual de instrucciones de instalación para Amplificador ARC Audio KS125.2 MINI. ARC Audio KS125.2 MINI 17 páginas. Moto series

F. Next pull the remainder of the main harness thru the
opening in the center of the ferring (See Figure 5F)
next to the motorcycles main wire harness. Then secure
the main harness to the motorcycles factory wiring with
wire zip ties (Provided)
G. After pulling the main power harness into the fer-
ring route your wires carefully to the amplifier. Once
routed secure the harness to the motorcycles factory
wiring and then attach the harnesses power and ground to
the amplifier. (See Figure 5G)
H. Next retrieve the orange turn on lead with termina-
tion on one end (Provided in wire kit and attach to the
amplifier in the approperiate terminal.
I. Once secured to the amplifier route the turn on lead
to the fairings front headlight harness. There you will
find an unused and terminated wire which is accessory
switched 12 volts(Orange w/white stripe). Attach the
provided turn on lead to this wire. (See Figure 5I)
J. Using your wire cutters cut the factory speaker
leads from the factory speakers
K. Route the previously extended leads from the ampli-
fiers hi-level input plug to the appropriate factory
speaker wire harnsess which was cut in step 5J and con-
nect using soldering iron or blue insulated butt connec-
tors (Prodided) then secure with wire zip ties, (See
Figure 5K)
Wire codes from amplifier hi-level plug -
White -
White w/black stripe-
Gray-
Gray w/black stripe
Wire colors from radio-
White w/orange stripe
Green w/white stripe
Gray w/red stripe
Green w/black stripe
L. Your last step in wiring your amplifier is to con-
nect the speakers to the amplifier output terminals.
(See Figure 5J). (Make sure at this point the speakers
are not connected to the factory radio!!!) Using the
previously secured and extended marked speaker wires
from the amplifiers speaker outputs, route the wires
safely and neately toward the correct speaker on your
motorcycle and connect them to your speakers terminate
them on the leads.
Left Positive
Left Negative
Right Positive
Right Negative
Left Positive
Left Negative
Right Positive
Right Negative
Firugre 5F-
Figure 5G-
Figure 5I-
Figure 5K-
