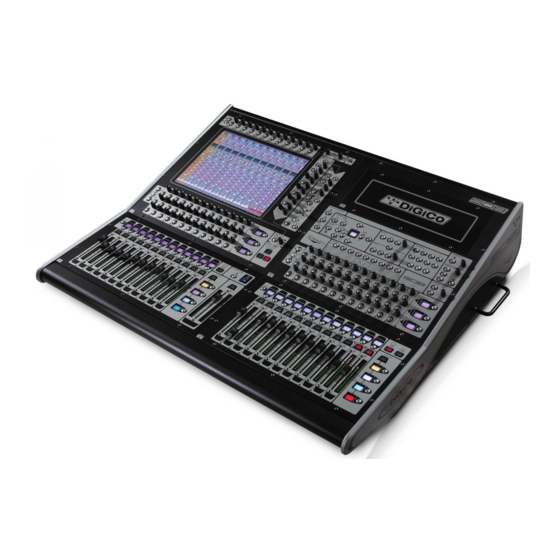
digico SD7 Notas técnicas - Página 11
Navegue en línea o descargue pdf Notas técnicas para Equipo para DJ digico SD7. digico SD7 11 páginas. Replacing and cleaning faders
También para digico SD7: Manual (9 páginas)

TN198 Page 11 of 11
8) Set the Setup>Audio Sync of the session to Optocore.
9) Connect the Optocore equipped rack to the relevant engine and loop number and set the ID of
the rack itself (eg Engine A – Loop 1 – Rack ID 30)
10) Check audio functionality of the inputs and outputs to the rack by selecting them in the SD7
channel routing panels under Port 5.
11) Repeat for the other engine if fitted.
Optocore Software Upgrade (if required)
1) Quit to Windows.
2) Right click on 'Start' and choose 'Explore all'
3) Locate the APP (D) drive and expand the view
4) Click on the SD7 folder to view its contents
5) Look for DI7_211.exe and run this
A window will open and you will see that the application has started communications with
Optocore via a serial Com port.
6) At the bottom of this window is a button 'Update Firmware' Click on this and wait for a message
to confirm the download is complete
7) Repeat for the other engine if fitted.
8) Re boot the console from power down.
TN198.doc\
