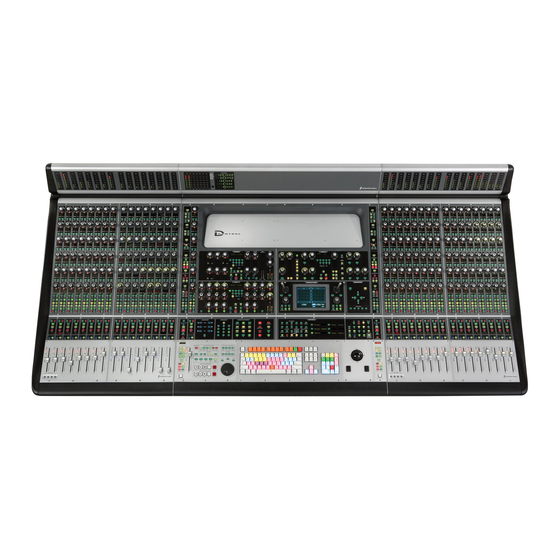
DigiDesign D-Control Manual de instalación - Página 7
Navegue en línea o descargue pdf Manual de instalación para Equipos de grabación DigiDesign D-Control. DigiDesign D-Control 12 páginas. Desk module

Chapter 2: Installing a Desk Module
If you are adding a Desk Module to a previously installed sys-
tem, you will first need to rebuild the D-Control stand to ac-
commodate the larger configuration.
For details on assembling the D-Control stand, refer
to the D-Control Guide or the D-Control Expanded
System Guide.
After the stand has been assembled, the next step is preparing
the Fader Modules and Desk Modules for installation.
Attaching Spacer Plates
A metal spacer plate goes between each unit on the D-Control
stand.
Figure 2. D-Control spacer plate
A spacer plate is pre-installed on the right side of each Fader
Module and Desk Module. Depending on the size and config-
uration of your D-Control system, you may need to remove
the plate from the rightmost Fader Module or Desk Module,
and install it on the previous unit on the stand. Refer to the
section below for example system configurations (16-fader
and 48-fader systems are shown).
16-Fader System Plus Desk Module
If you are building a 16-fader D-Control and a Desk Module,
you can place the Main Unit to the left, to the right, or in
between the Fader Module and the Desk Module.
Fader
Fader
or
Main
or
Desk
Desk
Fader
Fader
or
or
Main
Desk
Desk
Fader
Fader
Main
or
or
Desk
Desk
Figure 3. 16-fader system with Desk Module (possible configurations)
If you need to move the spacer plate from the rightmost
Fader Module or Desk Module and install it on another unit,
refer to "Moving the Spacer Plate" on page 4.
If you can use the spacer plates as pre-installed on the Fader
Module and Desk Module, proceed to "Installing the Units on
the Stand" on page 5.
Main in center
Main on right
Main on left
Chapter 2: Installing a Desk Module 3
