Epson 9800 - Stylus Pro Color Inkjet Printer Manual de instalación y desembalaje - Página 23

Navegue en línea o descargue pdf Manual de instalación y desembalaje para Impresora Epson 9800 - Stylus Pro Color Inkjet Printer. Epson 9800 - Stylus Pro Color Inkjet Printer 27 páginas. Stylus pro 800 series
También para Epson 9800 - Stylus Pro Color Inkjet Printer: Folleto y especificaciones (8 páginas), Manual de introducción (10 páginas), Manual del usuario (11 páginas), Manual de consulta rápida (12 páginas), Garantía limitada (12 páginas), Folleto y especificaciones (8 páginas), Folleto y especificaciones (6 páginas), Folleto y especificaciones (16 páginas), Hoja de aviso (4 páginas)
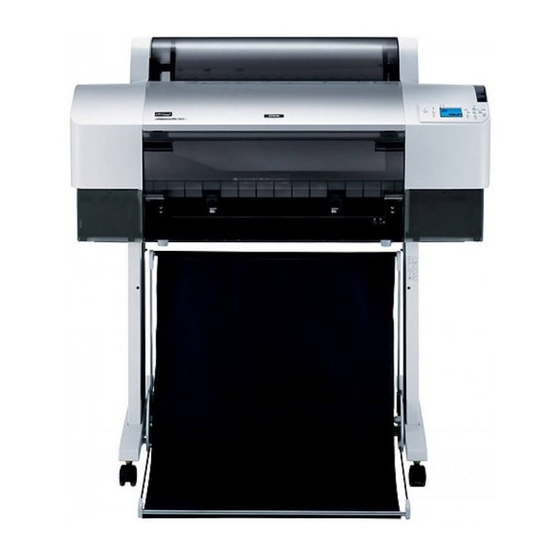
Epson 9800 - Stylus Pro Color Inkjet Printer Manual de instalación y desembalaje
Printing on Thick Paper (0.5 to
1.5 mm)
When you load thick cut sheets, such as
cardboard, follow the steps below.
Note:
❏ Do not load thick paper larger in size than B1
(728 × 1030 mm); otherwise, paper jams may
occur.
❏ Always load B1 (728 × 1030 mm) sized thick paper
long edge first. You may want to select the
Landscape setting in your printer driver.
1. Set the paper basket (see the User's Guide for
detailed informations).
2. Make sure that the printer is on.
3. Press the Paper Source l button repeatedly
until Sheet
appears.
4. Make sure that the Power light is not flashing,
and then set the paper lever to the released
position. LEVER RELEASED. LOAD PAPER
appears on the LCD panel.
5. Open the front cover.
6. Load the sheet into the paper insertion slot so
that the bottom edge of the paper rests behind
the open front cover. Make sure that the right
and bottom edges of the sheet are straight and
in line with the horizontal line and the vertical
line.
7. Set the paper lever to the secured position, and
then close the front cover. PRESS PAUSE
BUTTON appears on the LCD panel.
8. Press the Pause
button, and then follow
the same procedure used for other cut sheet
media.
Note:
Even if you do not press the Pause
print heads move and paper feeds into the printing
position automatically. READY appears on the LCD
panel.
c
Caution:
Do not leave the paper in the printer for a
long period of time; its quality will
deteriorate. We recommend that you remove
the paper from the printer after printing.
button, the
23