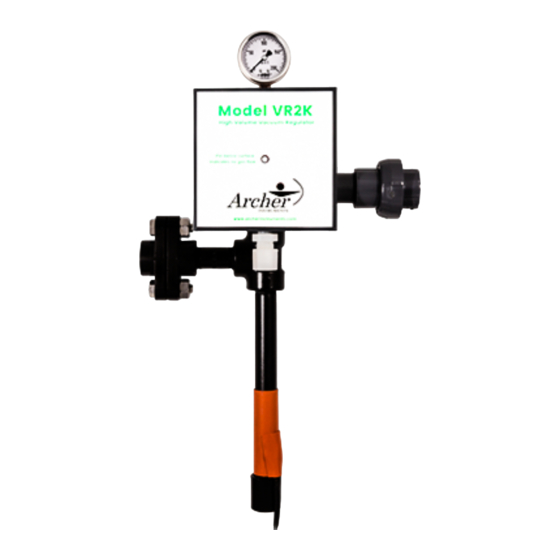
Archer VR2K Instalación Funcionamiento y mantenimiento - Página 4
Navegue en línea o descargue pdf Instalación Funcionamiento y mantenimiento para Controlador Archer VR2K. Archer VR2K 6 páginas. High volume vacuum regulator

Operating the Model VR2K:
1) Before placing the VR2K vacuum regulator into operation, it is important to carefully test
each lead gasket seal. A small squeeze bottle (provided with every Archer Instruments
vacuum regulator) should be partially filled with ammonia. Squeezing the bottle allows the
ammonia fumes to be used to test for chlorine leaks. A leak is detected by a visible light
gray / white gas cloud when the two fumes interact. To test for leaks, open each container
valve ¼ turn and then close immediately. This pressurizes the lead gasket seal but ensures
the container of chlorine is isolated during leak testing. Use ammonia fumes around the
cylinder valve and each lead gasket to check for any signs of leaking gas. If a leak is found,
this must be addressed before placing the unit into operation.
2) After confirming no leaks exist, open the chlorine cylinder valve 1 turn. This is fully open
and there is no need to open the valve further. Archer Instruments recommends leaving the
wrench on the valve stem whenever a container valve is open.
3) The VR2K operates using vacuum supplied by the ejector. Once the gas supply has been
prepared for operation and pressurized gas is supplied to the VR2K, gas feed will begin when
the ejector is put into operation.
NOTE: If the gas supply to the VR2K is exhausted, the guide pin will retract into the
front body. This indicates that gas is no longer flowing and that increased internal
vacuum has caused the diaphragm to fully open the inlet valve. When a high internal
vacuum level exists the diaphragm assembly will seal against the inside of the back body
until either the vacuum is relieved or the gas supply is restored.
Maintaining the VR2K:
Recommended Maintenance Frequency: Archer Instruments recommends yearly routine
maintenance of the VR2K vacuum regulator.
-Refer to the following parts diagram when performing maintenance on the VR2K.
NOTE: Prior to removal, the gas manifold must be properly evacuated to be sure all chlorine
has been removed and no pressure remains in the system.
DISASSEMBLY:
1) Remove the four BTA-139 cap screws and pull the drip leg & inlet assembly straight
out of the back of the vacuum regulator. Take care to pull it straight away, so as to
avoid damaging the VRA-644 Filter Holder.
2) Remove the four BTA-125 body screws and two BTA-131 back plate screws, then
carefully separate the VR2K front and back bodies.
3) The diaphragm assembly can then be removed by pulling it straight out of the front
body. Take care to not lose the vent spring, which is located between the diaphragm
assembly and the front body.
Archer Instruments, LLC
www.archerinstruments.com
