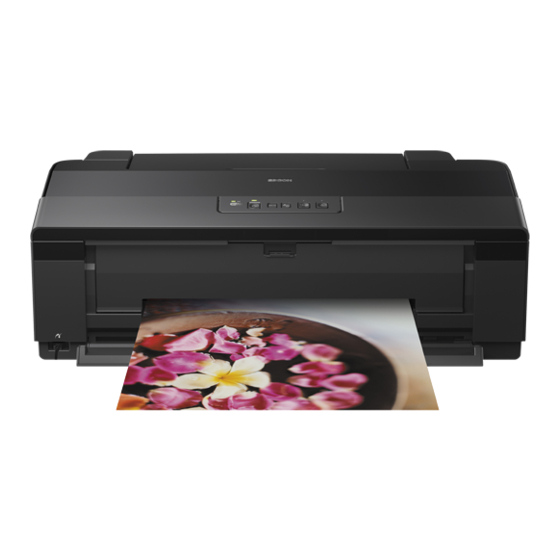
Epson C11CB53202 Empieza aquí
Navegue en línea o descargue pdf Empieza aquí para Impresora Epson C11CB53202. Epson C11CB53202 4 páginas.

EPSON Stylus
Start Here
Read these instructions before using your product.
1
Unpack
Caution:
Do not open ink cartridge packages until you are ready to
install the ink. Cartridges are vacuum packed to maintain reliability.
1
Remove all protective materials.
2
Open the printer cover and remove any tape inside.
2
Turn on
1
Connect the power cord to the back of the printer and to
an electrical outlet.
Caution:
Do not connect to your computer yet.
2
Press the
power button
Photo 1430W
®
.
3
Install ink cartridges
Caution:
Keep ink cartridges out of the reach of children and do not
drink the ink.
Note:
The ink cartridges that come with your printer have a lower
yield due to the ink system charging process. This process is carried
out the first time you turn on your printer and guarantees better
performance.
1
Open the printer cover, then open the ink cartridge cover.
2
Unpack the ink cartridges.
3
Remove only the yellow tape from each cartridge.
Caution:
Don't remove any other seals or the cartridges
may leak.
4
Insert the cartridges in the holder for each color. Press
each cartridge down until it clicks.
5
Close the ink cartridge cover, then close the
printer cover.
6
Press the
ink button to begin priming the ink. This
takes about 3 minutes. Do not turn off the printer, load
paper, or open any covers until the process is complete.
Caution:
Don't turn off the printer while it is priming or you'll
waste ink.
