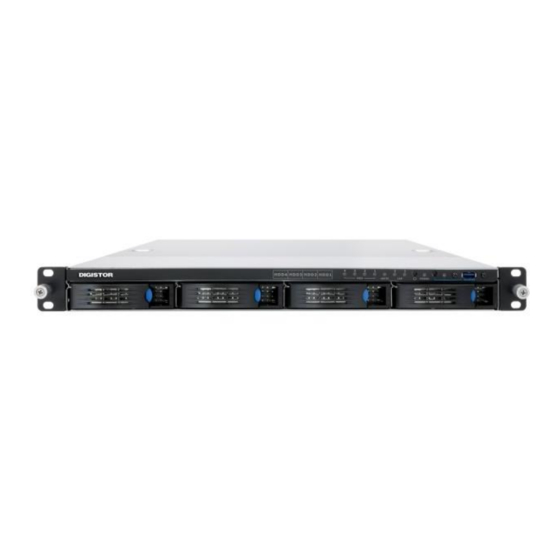
Digiever DS-8342-RM Pro+ Manual de instalación rápida - Página 8
Navegue en línea o descargue pdf Manual de instalación rápida para DVR Digiever DS-8342-RM Pro+. Digiever DS-8342-RM Pro+ 11 páginas.

Connect to NVR
1. Connect to DIGIEVER NVR
After setting the EZ Search and S-NVR Decoder, the user can connect to
the monitoring page by the following two options:
1)
EZ Search
Once you click "Connect" or double click the selected NVR list, the IE
browser will pop up automatically.
2)
IE browser
Log in to the system by entering its IP address in IE browser.
Note: There are 2 methods to set network:
Obtain an IP address automatically (NVR Default)
Obtain an available dynamic IP address assigned by a DHCP server. If
this option is selected, DIGIEVER NVR will automatically obtain an
available dynamic IP address from the DHCP server once it connects to
the network.
Specify an IP address
If there is no DHCP server existing in network environments, the static IP
address will be given as 192.168.1.245. It should be adaptable in most
networking environment, and user can choose to maintain the default IP
address or change it in this page. However, it's recommended setting
different IP address of DIGIEVER NVR if there is more than one
DIGIEVER NVR in the same LAN.
8
