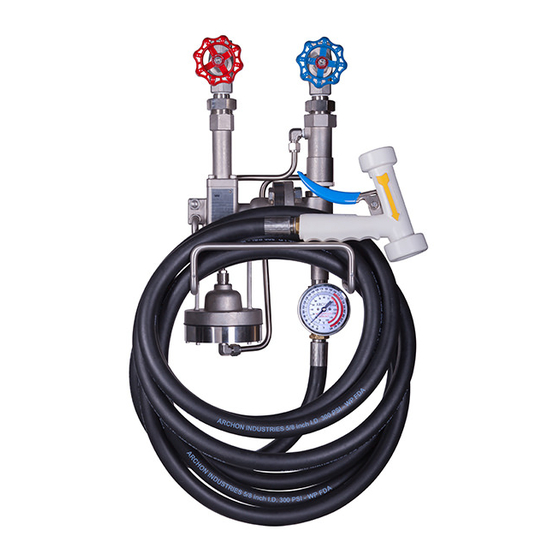
Archon WD2010 Manual de instrucciones de instalación, funcionamiento y mantenimiento - Página 11
Navegue en línea o descargue pdf Manual de instrucciones de instalación, funcionamiento y mantenimiento para Lavadora Archon WD2010. Archon WD2010 16 páginas. Washdown stations

INSTALLATION/OPERATION/MAINTENANCE INSTRUCTIONS FOR
ARCHON MODELS WD2010L, WD2010, WD2010H WASHDOWN STATIONS
d.
Hold the upper diaphragm casing (45) in a vise. Scribe a common line on both the upper diaphragm casing
and the lower diaphragm casing (90) to facilitate orientation during re-assembly.
e.
Loosen and remove the 8 cap screws (100C) to remove the lower diaphragm casing. Note: If the lower
casing does not part from the diaphragm and upper casing freely, strike the side of the lower casing gently
with a rubber covered mallet to loosen from the upper casting.
f.
While applying hand pressure to the top of the diaphragm retainer (217), remove the retainer, diaphragm
(182), and piston (116A) from the connector by removing the cap screw (100D).
g.
Disassemble upper diaphragm casing from the valve body (11) by removing the 2 cap screws (100D).
h.
Unthread connector (103) from end of stem assembly (17) by turning in a counter-clockwise direction.
i.
Turn packing gland (19) counter-clockwise to loosen from the valve body (11) bonnet.
j.
Remove stem locking nut (4C) and push stem out through body.
k.
Remove packing gland (19), washers (125A), wavewashers (125), stem packing (25), and O-ring (39D)
from body (11).
Discard all O-Rings and the valve packing (Teflon). Do not reuse these parts under any circumstances.
DANGER:
O-Rings and gaskets are permanently deformed by compression
and if reused can cause leaks resulting in the release of live steam. This can
cause serious personal injury and/or property damage.
4
Reassemble
4.1
Water Section
a.
Set orifice body (244) on table, inlet end down.
b.
Insert check valve (75A) into orifice body making sure it slides into the locating guides in the body.
c.
Place spring (140) into open end of check valve.
d.
Thread the nut (4) onto the nozzle (61). The nut should be threaded onto the nozzle until it bottoms out on
the nozzle hex.
e.
Assemble O-ring (39) into groove in the nozzle. Lubricate the O-ring before assembly.
f.
Thread the nozzle into the orifice body (which is vertical on the table) with retainer bar (116) in place, until
there is approximately a 3/8" gap between the nut on the nozzle and the end of the orifice body.
g.
Turn the nut down against the orifice body hand tight.
h.
Turn the orifice body over and check for check valve (75A) movement using a 1/8" diameter rod. Push the
check valve down. The valve should travel freely, min. 1/4", and should spring back freely when the rod is
pulled out rapidly. This is the check valve, it must move freely.
i.
Assemble nozzle (61) into jet (82). The nozzle should be threaded into the jet as far as it will go and
tightened.
j.
Loosen nut on orifice body. Turn the orifice body until the lower pressure tap on the orifice body is oriented
to the same side as the jet flange. See the assembly drawing for pictorial detail.
k.
Tighten nut against the orifice body.
DANGER
11
Installation: 1004 Rev 4
Issued: February 7, 2013
