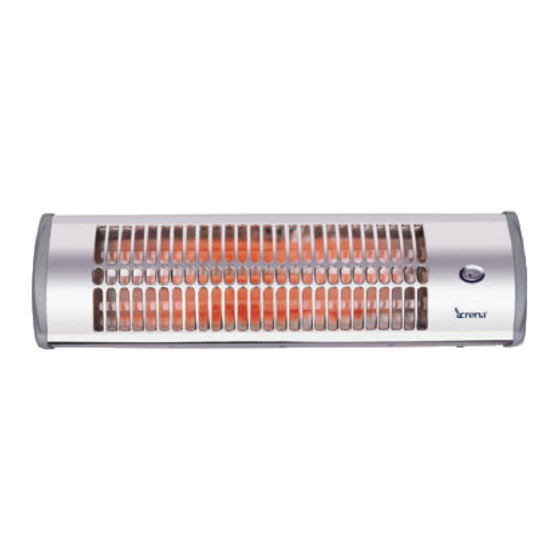
Crena QH-200Q Manual de instrucciones - Página 2
Navegue en línea o descargue pdf Manual de instrucciones para Calentador Crena QH-200Q. Crena QH-200Q 13 páginas. Quartz heater

GENERAL INFORMATION
Before carrying out any operation, read carefully the following instructions.
KEEP THIS BOOKLET IN A SAFE PLACE SO THAT YOU MAY CONULT IT
LATER.
After removing the packaging, make sure that the appliance is in good condition. If
you have doubts, do not use the appliance and return to your retailer.
The packing material contents plastic, nails, etc. which may be and therefore should
no left within the reach of children.
ELECTRICAL CONNECTION
Before connecting the appliance, make sure that the specifications on the data
place correspond to the conditions of the electrical supply network.
The electrical safety of this appliance can only be assured if it has been correctly
grounded.
This appliance conforms to the directives 89/336/CEE concerning electromagnetic
interference.
WARNING
We strongly recommend that the electrical installation be carried out by qualified
professional personnel.
Do not install the appliance in the immediate vicinity of baths tubs, showers, wash
basins, swimming pools, etc.
This appliance is not to be used only for the purpose intended by the manufactured
that is for area heating.
Any other use is improper and therefore dangerous. The manufacturer is not
responsible for any damages caused by improper and unreasonable use of this
appliance.
DO NOT PUT A COVER OVER THE APPLIANCE AS THE COVER COULD CATCH
FIRE DURING USE.
ELECTRICAL CONNECTION
This appliance must be earthed.
This appliance is intended or fixed installation that is with a permanent electrical
connection.
The power cord must have power consumption.
Material: PVC
NR.3 wires (neutral, live, earth)
Section: 1mm2 (minimum)
Sheath: 10mm2 (maximum diameter)
Once the power cord is inserted through the wall support, attach the support by
means of the supplied screws and dowels which were previously inserted into the
wall.
Remove the screw B from the cable in the cable clamp, and place the cable in the
preceded seat. Make sure that the wires connections correspond to the stamped
symbols on the support.
