FIBARO FIBEFGWDEU-111 Manual - Página 5
Navegue en línea o descargue pdf Manual para Regulador de intensidad FIBARO FIBEFGWDEU-111. FIBARO FIBEFGWDEU-111 15 páginas. Wall dimmer

30.08.2019
Inclusion/Exclusion
On factory default the device does not belong to any Z-Wave network. The device needs to be added to an existing wireless network to communicate with the
devices of this network. This process is called Inclusion.
Devices can also be removed from a network. This process is called Exclusion. Both processes are initiated by the primary controller of the Z-Wave network. This
controller is turned into exclusion respective inclusion mode. Inclusion and Exclusion is then performed doing a special manual action right on the device.
Inclusion
Quickly, three times click one of the buttons.
If you are adding in Security S2 Authenticated, scan the DSK QR code or input the underlined part of the DSK (label on the bottom of the box).
Exclusion
Quickly, three times click one of the buttons.
Product Usage
Compatible load types:
Resistive loads
Conventional incandescent and halogen light sources
Resistive-capacitive loads
Fluorescent tube lamp (compact / with electronic ballast), electronic transformer, LED
Resistive-inductive loads
Ferromagnetic transformers
Activating the device
1. If the device fully assembled, switch on the mains voltage.
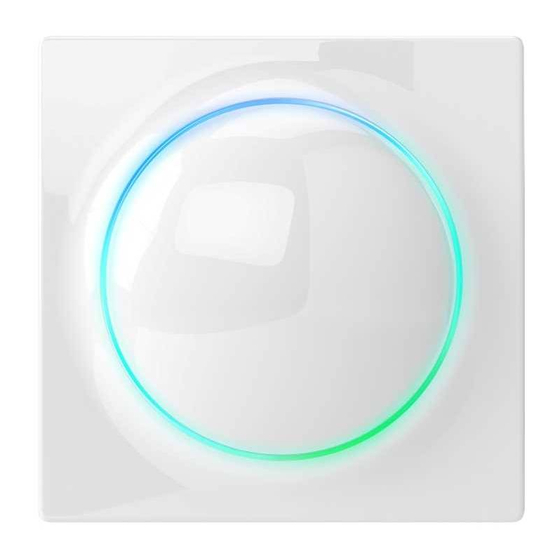
2. LED ring light means the device is powered.
3. Wait for the calibration process to end. Light may blink, the device will be switched off once the process is completed.
4. The device can be added to the Z-Wave network.
Calibration
The device is equipped with an algorithm of smart light source detection. It automatically selects suitable control mode (leading edge for inductive loads, trailing
edge for capacitive or resistive loads) and adjusts maximum and minimum light levels.
Installer is obliged to verify the proper operation of the device. There is a small probability that calibration settings will require manual correction.
In a 2-wire connection for non-resistive loads, minimum level (parameter 150) must be adjusted manually.
In a 2-wire connection if calibration results in Voltage Drop error, maximum level (parameter 151) must be adjusted manually.
Some types of LED and CF lamps are designed to operate in leading-edge mode (with conventional dimmers).
The device starts calibration automatically depending on parameter 175 or can be started manually by:
Setting parameter 159 to 1 or 2 (without or with Bypass 2),
Selecting blue or red (without or with Bypass 2) menu position.
The result of calibration will be confirmed by the LED frame:
GREEN - Light source recognized as dimmable, dimming levels set,
YELLOW - Light source recognized as non-dimmable, only switching possible,
RED - Calibration failed: lack of connected load or connected light source exceeds maximum power,
BLINKING RED - Calibration failed: installation failure or damaged load.
Controls
1. First button ▲
2. Secound button ▼
3. LED Ring
Button control
Controlling connected load
Perform the following actions on one of the buttons to change state of the connected load.
Click ▲ if turned off
turn on with previous level,
manual.zwave.eu/backend/make.php?lang=en&sku=FIBEFGWDEU-111
manual.zwave.eu/backend/make.php?lang=en&sku=FIBEFGWDEU-111
5/15
