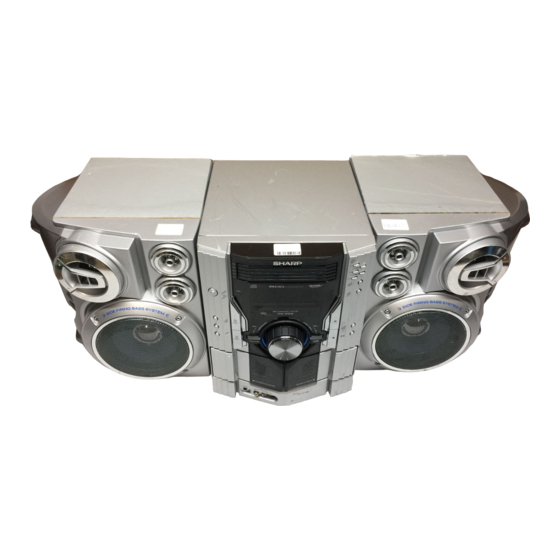
Sharp CD-ES99 Manual de instrucciones - Página 33
Navegue en línea o descargue pdf Manual de instrucciones para Sistema estéreo Sharp CD-ES99. Sharp CD-ES99 36 páginas. Sharp operation manual mini component system cd-es900 cp-es900
También para Sharp CD-ES99: Manual de instrucciones (36 páginas)

CD-ESg00
CD-ES99
•
Cassette
deck
Symptom
Possible
cause
•
Cannot
record.
•
Is the erase-prevention
tab re-
moved?
•
Cannot
record tracks with
•
Is it a normal
tape? (You cannot
proper
sound quality,
record on a metal or CrO_ tape.)
•
Cannot
erase completely.
•
Sound
skipping.
•
Is there
any slack?
•
Is the tape stretched?
•
Cannot
hear treble.
•
Are the capstans,
pinch rollers,
•
Sound fluctuation,
or heads dirty?
•
Cannot
remove
the tape.
•
If a power failure
occurs
during
playback,
the heads remain
en-
gaged with the tape. Do not open
the compartment
with great
force.
•
Remote control
Symptom
•
The remote
control
does
not operate.
Possible
cause
•
Is the AC power
cord of the unit
plugged
in?
•
Is the battery
polarity
correct?
•
Are the batteries
dead?
•
Is the distance
or angle incor-
rect?
•
Does the remote
control
sensor
receive
strong
light?
•
Tuner
Symptom
Possible
cause
•
The radio makes
unusual
•
Is the unit placed
near the TV or
noises continuously,
computer?
•
Is the FM antenna
orAM
loop an-
tenna placed
properly?
Move the
antenna
away from the AC power
cord if it's located
nearby.
•
If trouble
occurs
When
this
product
is subjected
to strong
external
interference
(mechanical
shock,
excessive
static
electricity,
abnormal
supply
voltage
due to lightning,
etc.)
or if it is operated
incorrectly,
it may
malfunction.
If such
a problem
occurs,
do the following:
I
Bet the unit to the stand-by
mode and turn the power on again.
2
If the unit
is not restored
in the previous
operation,
unplug
and
plug in the unit, and then turn the power on.
Note:
If neither
operation
above
restores
the unit, clear al! the memory
by
resetting
it.
•
Clearing
all the memory (reset)
I
Press
the
ON/STAND-BY
button
to enter
the power
stand-by
mode.
2
While pressing
down the ®l| button
and the X-BASS/DEMO
but-
ton,
press
the
_
_
PRESET
v
button
until
"CLEAR
AU'
appears.
Caution:
This operation wilt erase all data stored in memory including clock,
timer settings, tuner preset, and CD program.
33
