Sharp MX-2300N Guide Manual de solución de problemas - Página 17

Navegue en línea o descargue pdf Manual de solución de problemas para Impresora todo en uno Sharp MX-2300N Guide. Sharp MX-2300N Guide 44 páginas. Sharp mx-2700n, mx-2300n mfp - scan to e-mail instructions
También para Sharp MX-2300N Guide: Especificaciones (2 páginas), Manual de seguridad (28 páginas), Manual de archivo de documentos (47 páginas), Instrucciones para escanear a correo electrónico (7 páginas), Manual de configuración del software (48 páginas)
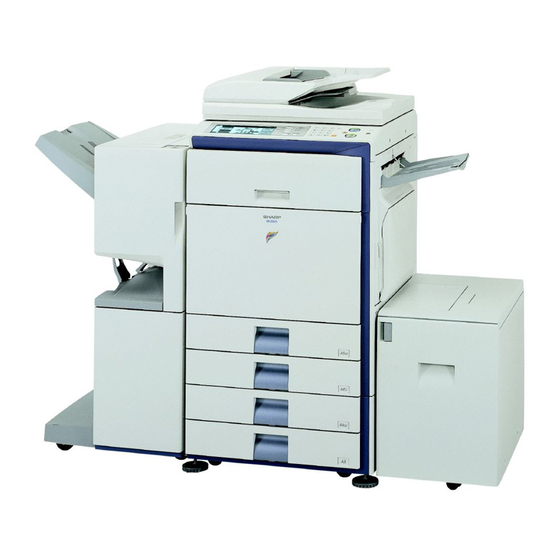
Sharp MX-2300N Guide Manual de solución de problemas
Problem
Many nonsense
characters are printed.
Point to check
Is your computer or the machine in an
unstable state?
Solution
If little free space remains in the memory or hard drive of
your computer, or many jobs have been spooled on the
machine and it has little free memory remaining, printed
text may turn into nonsense characters. In this situation,
cancel printing, restart your computer and the machine,
and try printing again.
To cancel printing
Windows:
Double-click the printer icon that appears at the lower
right of the task bar and click "Cancel All Documents"
(or "Purge Print Documents") in the [Printer] menu.
Macintosh:
Double click the name of the machine in the printer
list, select the job that you wish to delete, and delete
it. (In Mac OS 9.0 to 9.2.2, double click the printer icon
on the desktop, select the print job that you wish to
delete, and delete it.)
At the machine:
Press the [JOB STATUS] key on the operation panel,
touch the [Print Job] key to change the screen, touch
the key of the print job that you wish to delete, and
touch the [Stop/Delete] key. A message appears to
confirm the cancellation. Touch the [Yes] key.
If nonsense characters are still printed after restarting,
ask your administrator to lengthen the timeout setting of
"I/O Timeout" in the system settings (administrator).
➞ System Settings (Administrator) > "Printer Settings" >
"Interface Settings" > "I/O Timeout"
* If nonsense characters are still printed after taking the
above measures, remove and then reinstall the printer
driver.
15